Life is Strange™

Life is Strange™

461 ratings
All Optional Photo Location
By Na
This guide helps you to identify all photo location for each episode in order to get the achievement.
Square Enix [lifeisstrange.square-enix-games.com]
5
   
Award
Favorite
Favorited
Unfavorite
  • Max may come across various scenes, pictures, people, animals or objects that she may find interesting and could take a photo of with her analog camera.

  • Her optional photos section in her journal at the beginning of each episode will initially have only single color sketch pictures which will gradually be replaced by full color photos as Max takes each optional photo.

  • Some optional photos are only available after certain actions.

  • Taking an optional photo will also award the player an achievement for that episode.

  • All achievements refer to photography terms.
Episode 1

1. You can find the first one at the beginning of the game, in the classroom. It is enough to take a look at your desk to see a writing and the possibility of taking a photo


2. While being outside get close to the statue and take a photo of it.


3. You can take the third picture while Justin's friend is showing you a trick. Before he does that, though, you have to go through a few steps. The first one is talking to Justin and answering, correctly, to some question of his. You need to go back in time during that conversation to get the answer correctly. Next, choose the Tre Flip option, so that Justin's friend does the trick. After he falls you need to go close to him and take a photo of him.


4. You can take the next one when Victoria and her friends are in your way to the dormitory. Go left. You'll see a tree and squirrel next to it. Take a photo of it and it will join your collection.


5. Take the fifth photo in your room in the dormitory. Stand in front of the mirror and take a photo of yourself to add it to your collection.


6. The next one can be taken in Victoria's room. Get close to the wall and mess up the pictures which are on it and then take a photo of that.


7. Take the next one when you warn Alyssa about the ball which is coming her way. After you've done that, get close to the broken window and take a photo of that.


8. Take the eighth photo on the parking. Draw something on the window of the van and take a photo of that drawing.


9. You'll find the last but one photo Chile running away from Chloe's house. Before going to the lighthouse turn around and take a photo of a big rock on the path. You'll find a bird on it, you can also take a photo of that bird.


10. You can take the last photo, of Chloe, when she is sitting next to the lighthouse. Stand behind her back in order to take the photo
Episode 2

1. The first photo can be taken during the first chapter of the game, when you are in Kate's room. Approach the bunny cage and take the shot.


2. The second photo can be taken after you've left the dormitory. Approach the bench on the right side and locate the trash bin next to it - inside you will find a piece of a candy bar. Put the candy on the bench and move to a safe distance. After a short while a squirrel will be attracted to the food you've left - all you have to do now is to get a little closer and take your shot.


3. The third photo can be made in the second chapter of this episode. After arriving at the bar, you must get closer to the entrance and take a photo of the signboard hanging above the entrance. A whale sign cannot be missed.


4. Go to the parking lot where you will find a trailer. A man and a guard tog will be sitting behind it - the dog will prevent you from talking with the man. Additionally, you must take a photo here if you want to complete your collection. In order to do that, circle around the building (bar) and enter the back alley. By following it, you will get to the fence, from where you will be able to see both the dog and the man. Here you can take your photo.


5. The fifth photo can be taken when inside the bar. Enter the toilet and look at the mirror. You will find a note, which you can take a photo of.


6. This photo can be taken during your "adventure" on the garbage dump. Approach the school bus from the left side, where you will be able to take your shot.


7. This one can be taken by going to the back of the school bus. There you will find a small glade, as well as a deer - take the photo of the animal.


8. This photo can be taken after the series of shots made by Chloe. As soon as she lays on the car hood, approach her from the left side - you can now take your shot.


9. The penultimate photo can be taken during your school classes. Approach Warren to help him with his experiment. In order to do so, you will have to complete a series of steps. Warren will ask you to help him in mixing some chemicals. Regardless of your choice (sodium, potassium), the game won't note it as helping Warren. To get such an entry, you have to approach the teacher (after you've gone back in time, of course) and ask her about the experiment. She will tell you that it's best to use chlorine. Go back to Warren and speak with him again. The third dialogue option will appear (chlorine). After selecting it, the experiment will be a success, and you will be able to take the last photo for your journal collection. Additionally, you will get a journal entry about helping Warren.


10. The last photo in this episode can be taken when you are in the class. Approach Alyssa and take a shot of her back in order to complete your collection.

Episode 3 Part 1

1. The first photo can be taken in the first chapter of the episode. Enter Victoria's room and approach the phosphorescent figurine standing on the dresser. Take a picture of the figurine to add the first photo to your collection.


2. The second photo can be taken in the first chapter. Right after leaving the dormitories head toward the bench, as shown in the picture. You will find the familiar squirrel. In order to take a photo of it you have to approach the bench and rewind time. This way the squirrel will not have run off, letting you take the photo.


3. The third photo situation is in the second chapter. While in the chemistry lab, approach the aquarium shown in the picture, and turn its light on. The take a photo option will appear right after doing that.


4. The fourth photo is in the chemistry lab. Right next to sodium chlorate that you find on the closet, there is a skeleton, as shown in the picture. Approach it to take a photo of it and expand your collection.


5. The fifth photo is in the headmaster's office. First, look at the bronze statue on the desk, and then look at Chloe to see the option of taking a photo of her.
Episode 3 Part 2

6. The next photo can be taken in Chloe's house. Right after leaving her room, instead of going downstairs, head to the bathroom and look in the mirror. You will be able to take the sixth photo.


7. Another photo is a tricky one. In order to take it you have to perform a series of steps. Right after going down to the kitchen and meeting Joyce, open the window and scare off the bird sitting on the fridge on the left from the window. After scaring the bird away, approach the cabinet next to the TV and do the same. The next step is to scare it away from the fire place, so it finally flies outside through the window. Go outside to the yard and approach the place shown in the picture. This is where you can take a photo of the bird.


8. When you get to the diner, talk to the truck driver standing by the building. No matter which dialogue option you choose, he does not want to talk to you. Rewind time and use his words against him by selecting option 1977 Needham. Stunned, the driver will let you take a photo of his truck, so turn around to find the vehicle on the other side of the road.


9. The last but one photo is in the last chapter. Walk around the diner to find an ant whirlpool. Approach it to take a photo of it.


10. The last photo is in the last chapter. Approach Chloe to find a camera lying on the kitchen worktop on her left. You will see the option of taking the last photo to your collection.
Episode 4

1. The first photo can be taken in the second chapter of the game. After waking up, get off the bed and walk towards the back of sitting Chloe.


2. Second photo can be taken in David's garage. Walk towards the desk protecting the nest at the gate of the garage and move it. After moving the desk you will be able to take the photo of the bird nest.


3. Third photo shows rocks. You will find them in front of the dormitory, near the statue.


4. Walk to Samuel and talk with him about the changes in Arcadia Bay. Pick "Squirrel" from the dialogue options to remind him that he must feed her. After he throws the food, one of the squirrels will run towards it and the second one will stand behind the fence. To take the photo you must lure the second squirrel with the food lying next to Samuel (select the "Lure" option).


5. The fifth photo can be taken in the dormitory. Instead of going to Nathan's room, turn right and walk towards the window shown on the picture.


6. Sixth photo can be taken in the third chapter. Before going to Frank's camping, walk towards the barrier and take the photo of dead whales.


7. Photo number 7 can be taken before entering the shed. If the bird shown on the picture flies away before you take the photo, walk to the required distance and go back in time.


8. Eighth picture can be taken on the first floor in the shed. When you're above, walk towards the sleeping owl and take its picture.


9. The penultimate photo can be taken at the beginning of Vortex Club party. After entering the room, walk towards the trampoline and look right. After positioning yourself properly you will be able to take the photo.


10. Last photo can be taken in the bathroom, on the party in Vortex Club. The bathroom can be found on the left side from the entrance to VIP section.
Episode 5 Part 1

1. You can take the first picture after waking up in Jefferson's classroom. Walk towards Kate and select the Comfort option. After a short conversation you will be able to take a picture of her.


2. You can take the second picture to your collection when you're in the gallery. Walk to the lower level and towards the women sitting with her back turned on you. Look at the camera lying next to her and take the picture.


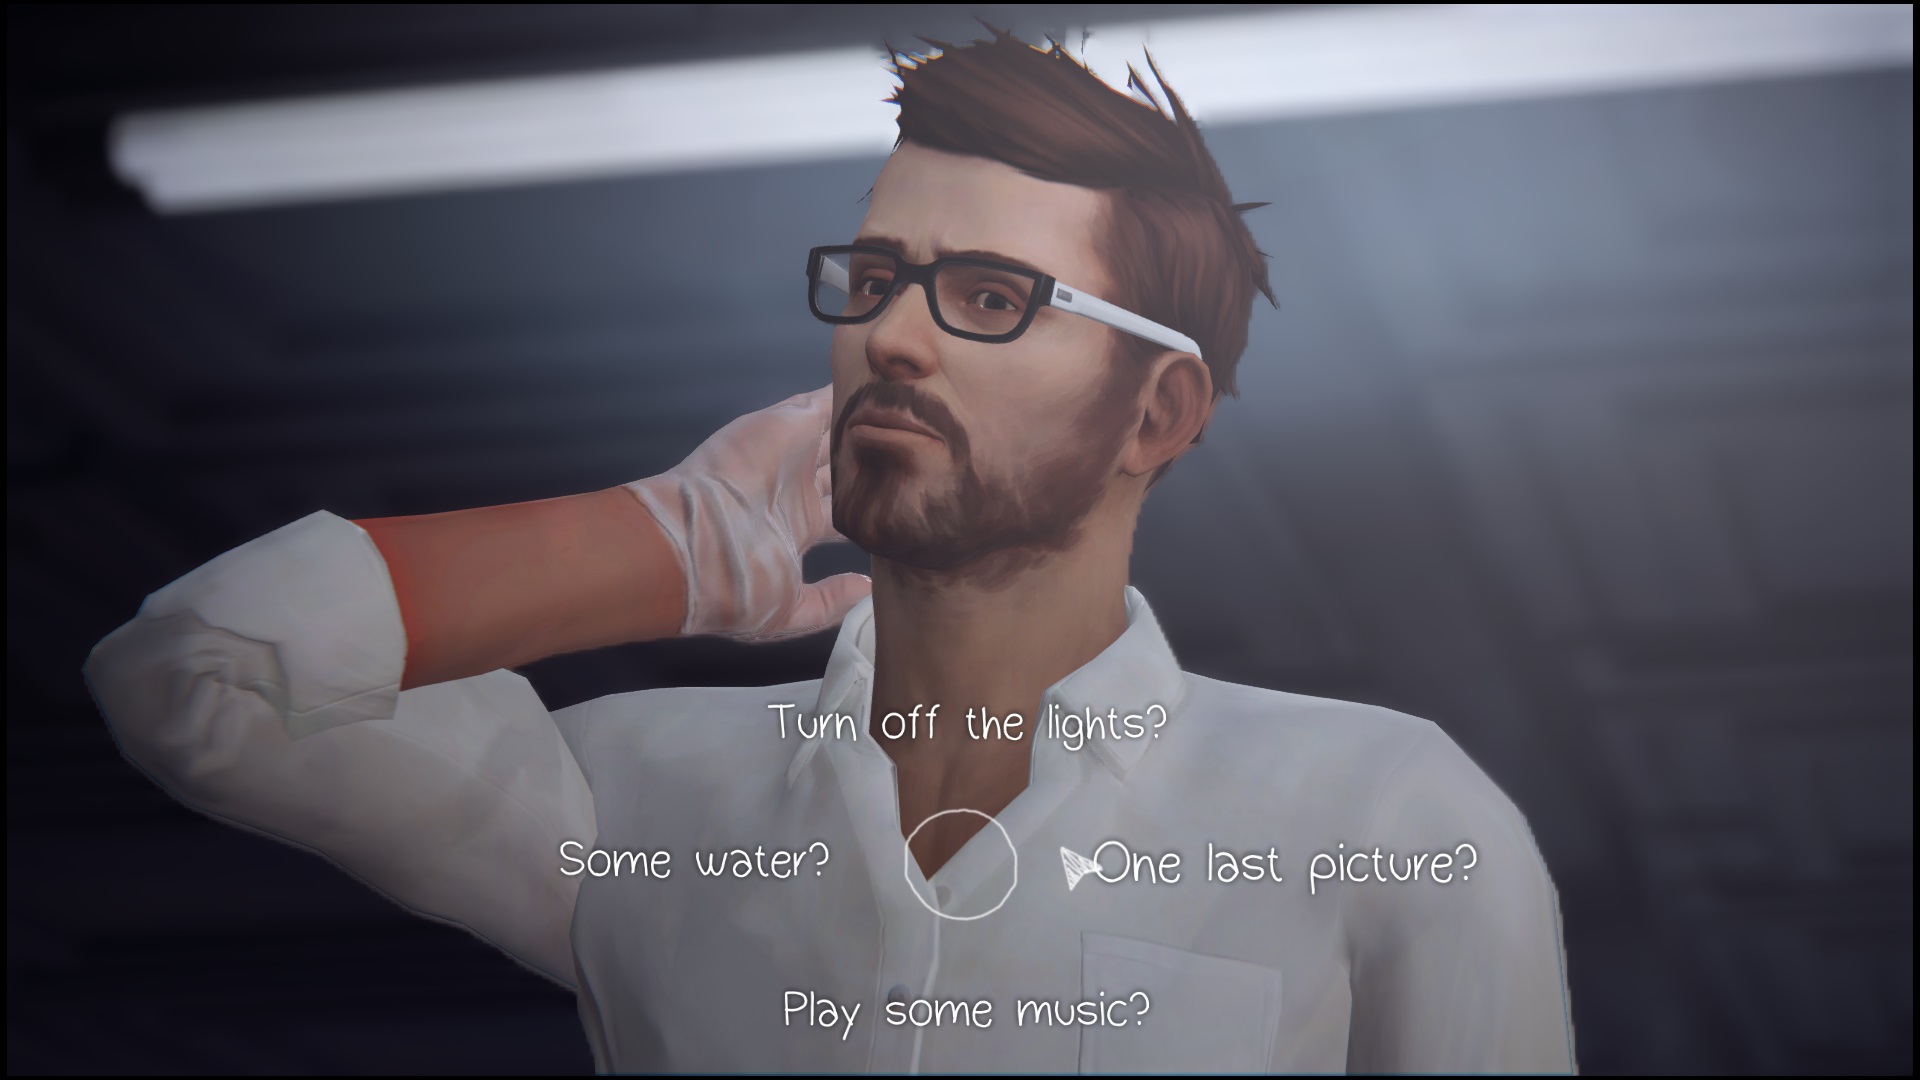
3. You will take the third picture to your collection thanks to the conversation with Jefferson. In order to gain access to the photo you must select the One last picture? option.


4. You will take the fourth picture of a dead whale lying next to the entrance to Joyce's bar. First you must stop the fire, only then you will have the option to take the picture.


5. The fifth photo can be taken next to the entrance to Joyce's bar. Look at the roof of the nearby building where a car will be hanging.
Episode 5 Part 2

6. After waking up in Jefferson's classroom, walk towards the table in the middle of the room and change the text to Chloe 4 Life and then take the picture.


7. You will take the seventh picture during the nightmare dream. In the fourth phase (as Max), walk towards the window on the right side of the corridor. There you will find two squirrels, take a photo of them.


8. You will take the eighth picture after leaving Jefferson's classroom. Before you go to the bathroom, turn right and stand in front of the skeleton shown on the picture. In order to gain access to the photo, you must go back in time to the right moment.


9. You will take the ninth picture during the sequence with school lockers. Go to the right side & turn right, there you will reach a passage to Warren's locker. After opening it you will be able to take the picture.


10. You will take the last picture after collecting five bottles on the garbage dump. Four of them can be found on the orange cars in each corner of the location. The fifth one will be in a room with a chair.
I hope this guide can help you understand on how to take an optional photo which will help to get an achievement in the game.

Please leave a comment below if you have any question or doubts.
61 Comments
Na  [author] 27 Sep, 2019 @ 1:48am 
@Rookie Boi, https://www.youtube.com/watch?v=_UjqtGcnxdY
A video that I found & skip to 3:52 for the step on how to get picture 7

If you really did everything, I think there's a bug/glitch on your PC :C
Té Verde Smoker 26 Sep, 2019 @ 4:18am 
@Na yes, I did everything but it´s not there
Na  [author] 22 Sep, 2019 @ 1:10am 
@POLINCHI , you're welcome C:
Na  [author] 22 Sep, 2019 @ 1:10am 
@Rookie boi, you need to do a few steps in order for the bird to be resting on the fence above a painting according to picture 7. Did you read & follow the steps that I explain ?
POLINCHI 25 Jan, 2019 @ 8:04pm 
Great guide. Thanks
Té Verde Smoker 11 Jan, 2019 @ 9:20pm 
in the eppisode three, the bird is not there when I need it to be there (picture 7)
it's not even in the fridge. what can I do?
Na  [author] 6 Jan, 2019 @ 7:26am 
@Doggo, you're welcome :3
Doggo 4 Jan, 2019 @ 10:56am 
Amazing guide. Thank you so much!:dante:
Na  [author] 19 Dec, 2018 @ 4:50am 
@aRose, for Chloe Price,Rachel Amber & Kate Marsh XD & thank you :3
Té Verde Smoker 18 Dec, 2018 @ 8:00pm 
wow I really appreciate what you have done :LIS_flower: