The Callisto Protocol

The Callisto Protocol

156 ratings
All Ingame Collectibles Guide | Grim Reaper Achievement
By XEALEEN
This guide contains detailed information about all the possible collectibles that can be found in The Callisto Protocol.

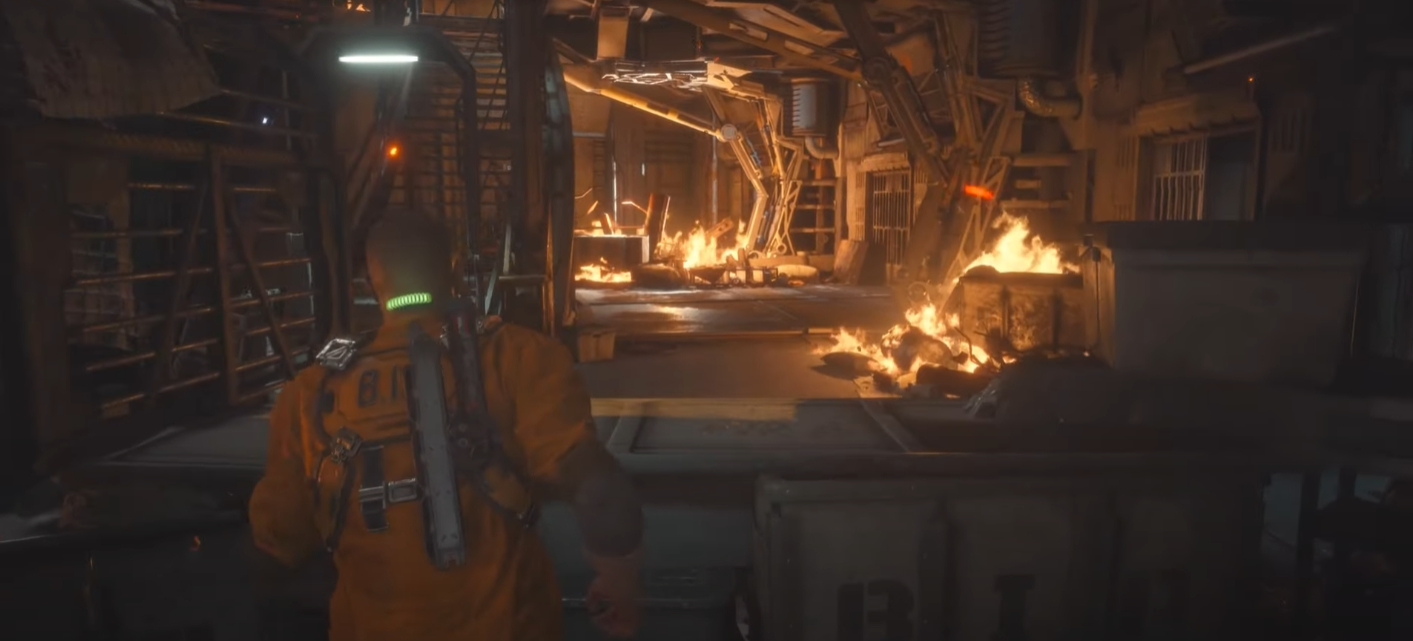
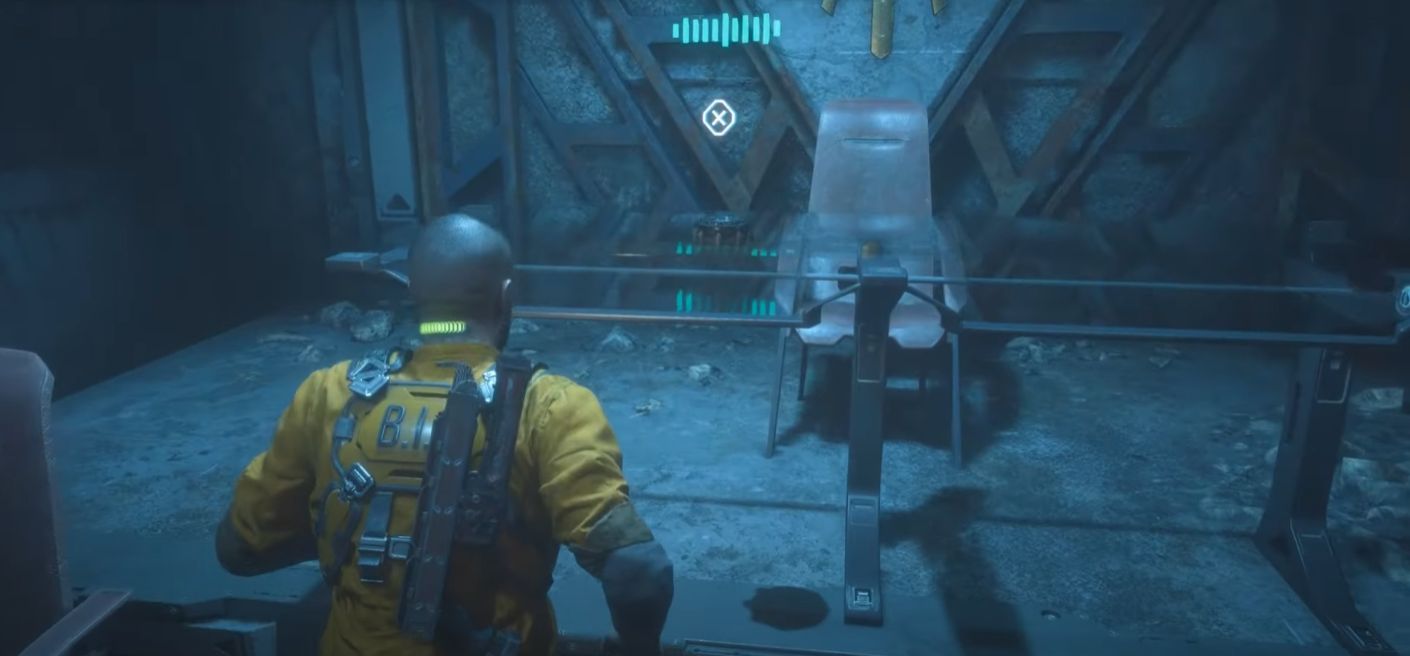
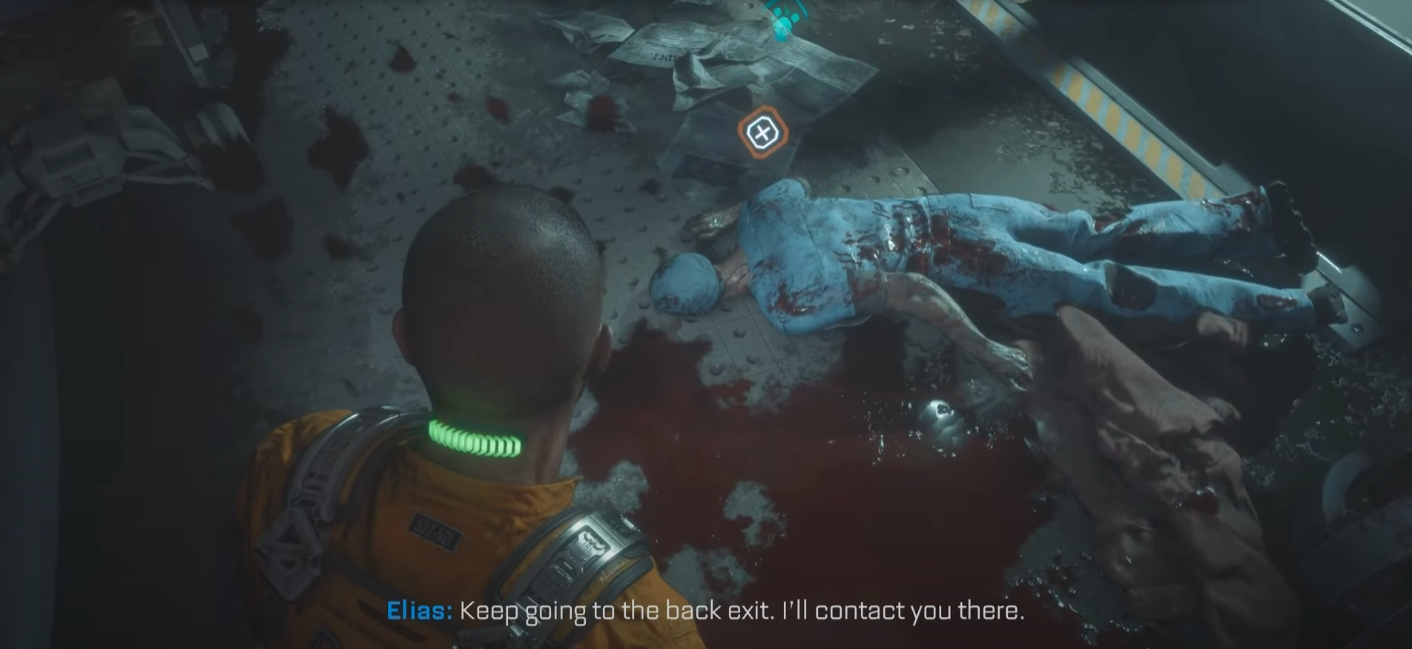
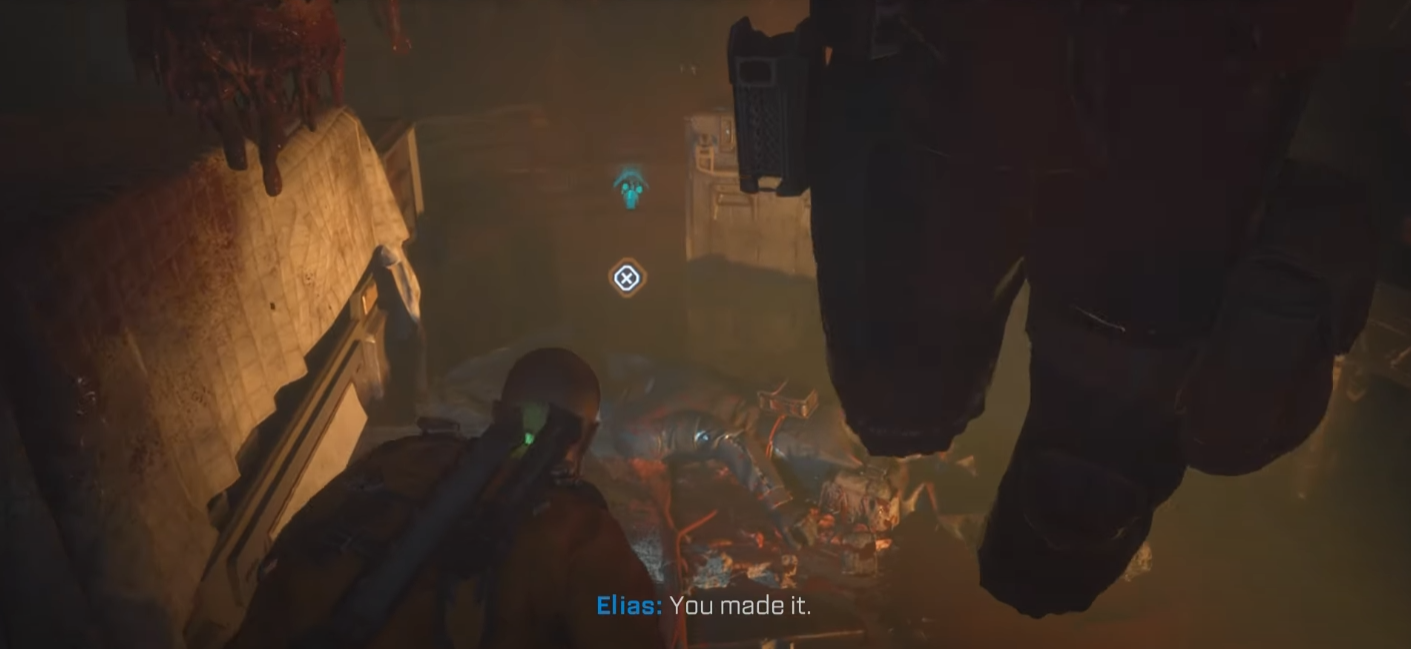
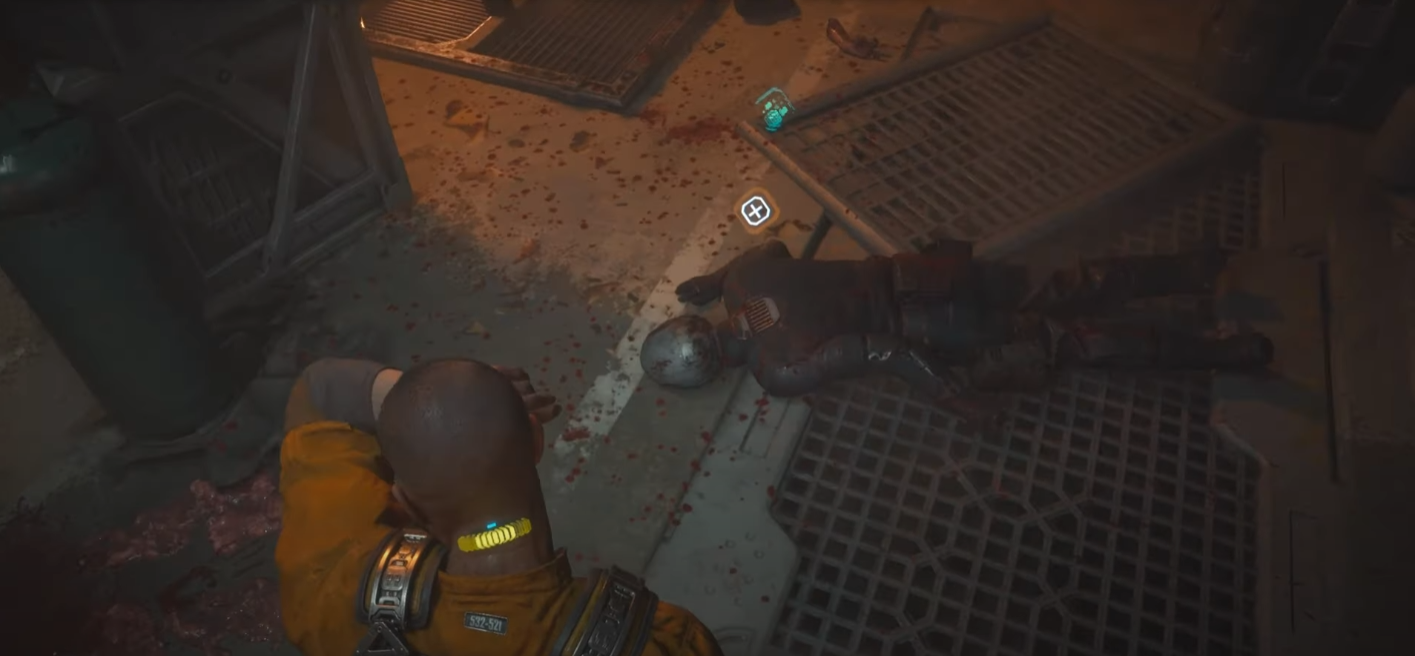
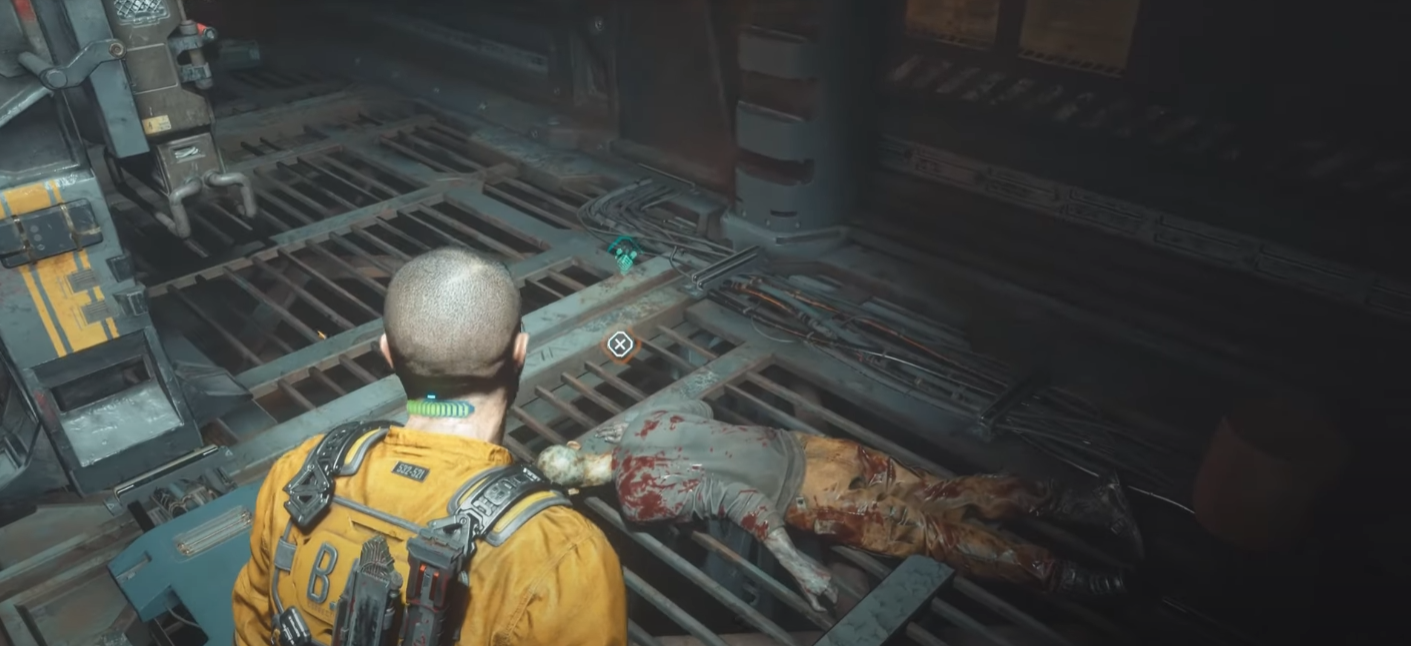
For your convenience, I have divided all the items into chapters with text descriptions and screenshots, as well as a video if this is not enough. The Callisto Protocol has 43 Collectible Locations (23 Implant Bios, 20 Data-Bios Audio Logs). Finding all of the Bios Collectibles unlocks the Grim Reaper Achievement.

7
2
6
3
3
2
   
Award
Favorite
Favorited
Unfavorite
Collectibles info
Grim Reaper achievement description is misleading. It states to “harvest and read all implant bios”. However, you also need the regular Audio Logs, not just the harvested implant bios. They all count as “Data-Bios” in the game. They are all included here in the guide — 43 Collectible Locations (23 Implant Bios, 20 Data-Bios Audio Logs).

There is no Chapter Select and no New Game Plus. You must find all Collectibles in one playthrough. The game keeps multiple autosaves going back a few checkpoints, if you missed one and notice right away you can reload the closest autosave and replay from there. You can also keep Manual Saves, which is highly recommended. Keep at least one Manual Save from the start of each Chapter. The chosen difficulty setting doesn’t matter for Collectibles. There are no Side Quests or hidden requirements, they can all be found on the first playthrough.

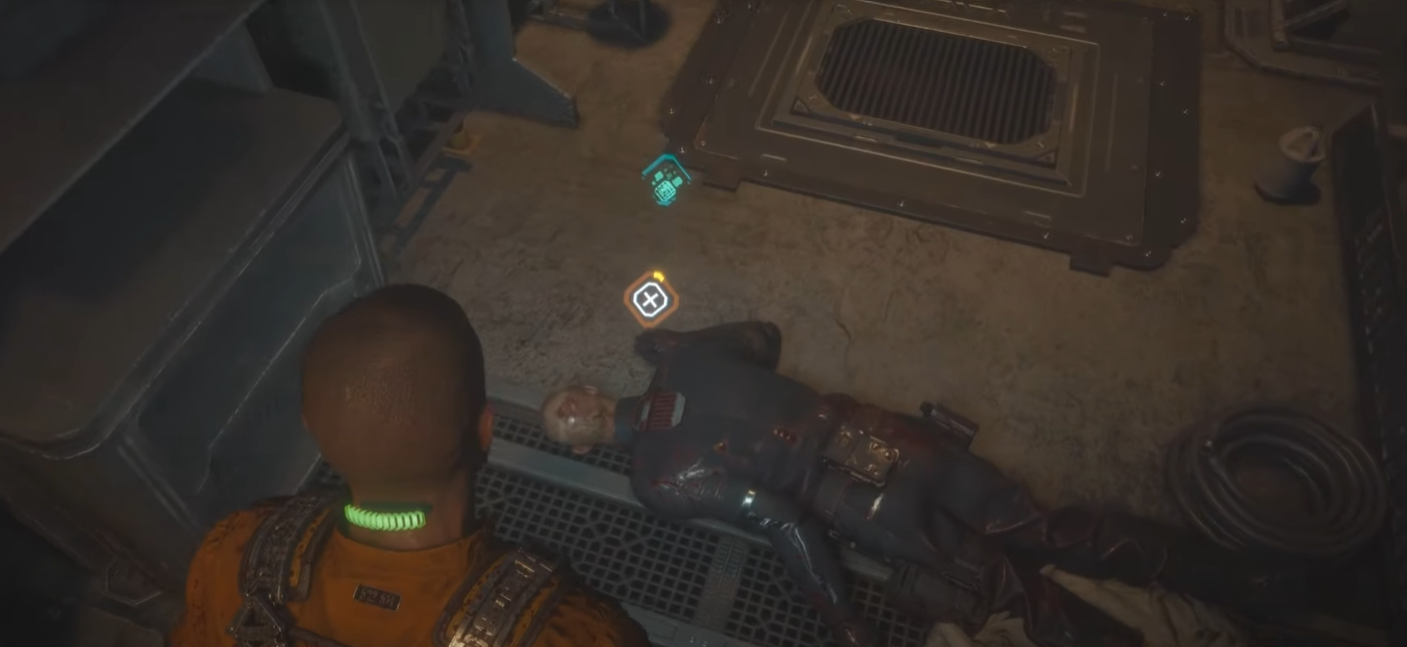
Implant Bios are harvested from corpses whereas Audio Logs are found as collectible pickups in the environment. Both types are mandatory for the Grim Reaper trophy, so be sure to get all of them and not just the Implants. The Grim Reaper achievement pops after the 42nd Data-Bio Collectible, which is a regular Audio Log and not a harvested Implant Bio. It actually pops one collectible early, the 43rd collectible isn’t needed for some reason.

You can keep track which ones you found in Data-Bios Menu. In this menu there’s a sidebar on the left that lists them by Chapter. There you can see all available ones per Chapter. Each Audio Log & Harvested Implant is listed under the person they belong to. Some of the persons have multiple Bios across different Chapters, but the Data-Bios Menu shows the total amount across the entire game. For example, Dr. Caitlyn Mahler would show “1/4” collected after Chapter 2, this is normal because the remaining 3 Bios of this person are found in later Chapters.

Potential Bug Warning: Sometimes a Collectible might not register correctly in the Data-Bios Menu, then it remains blacked out in the menu. If this happens reload the last Autosave and collect it again! If one remains blacked out in the Data-Bios Menu, the achievement won’t unlock! It’s recommended to check at the start of every Chapter that all entries from the previous chapter are filled in (none are blacked out). If something didn’t register, reload the nearest save and recollect everything from that point onward. That’s also why you should keep plenty of Manual Saves.

Dying resets your progress to what you had at the last Checkpoint. If you die, you must recollect anything since the last checkpoint!
Chapter I: Description
Description
Image
1.
Data-Bios #1 – Jacob Lee: Jacob’s Job
Objective: Check on Special Cargo

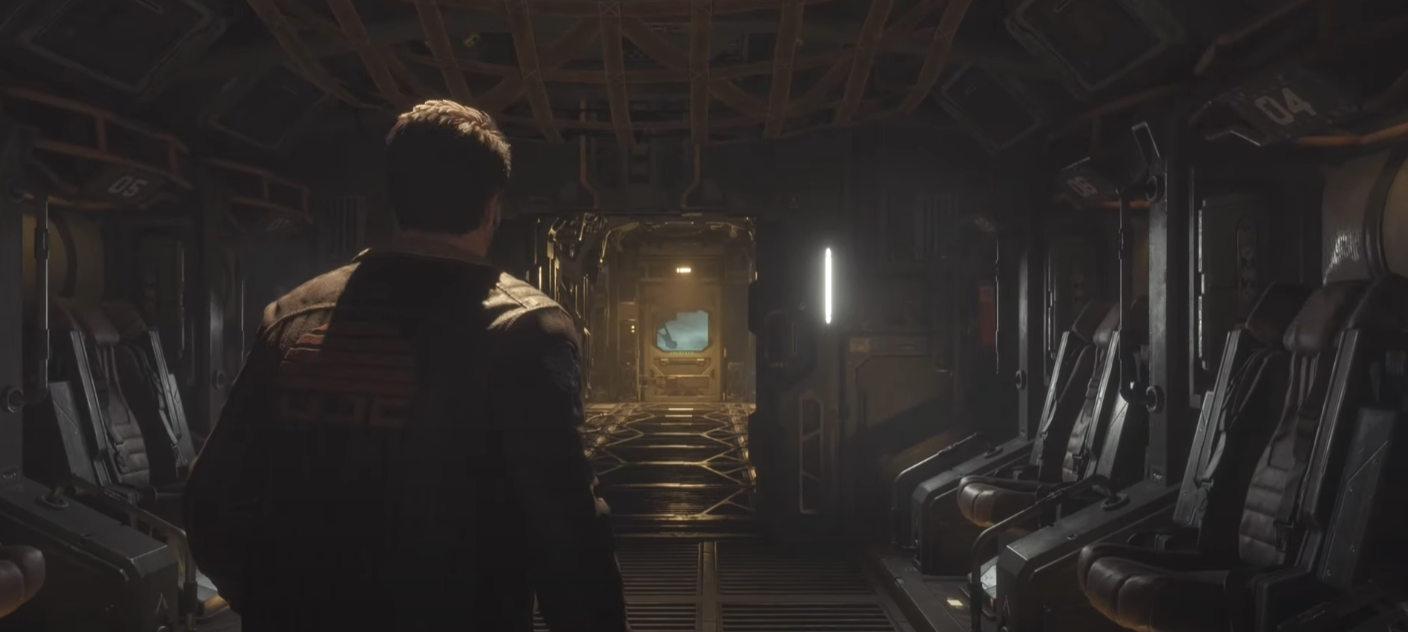
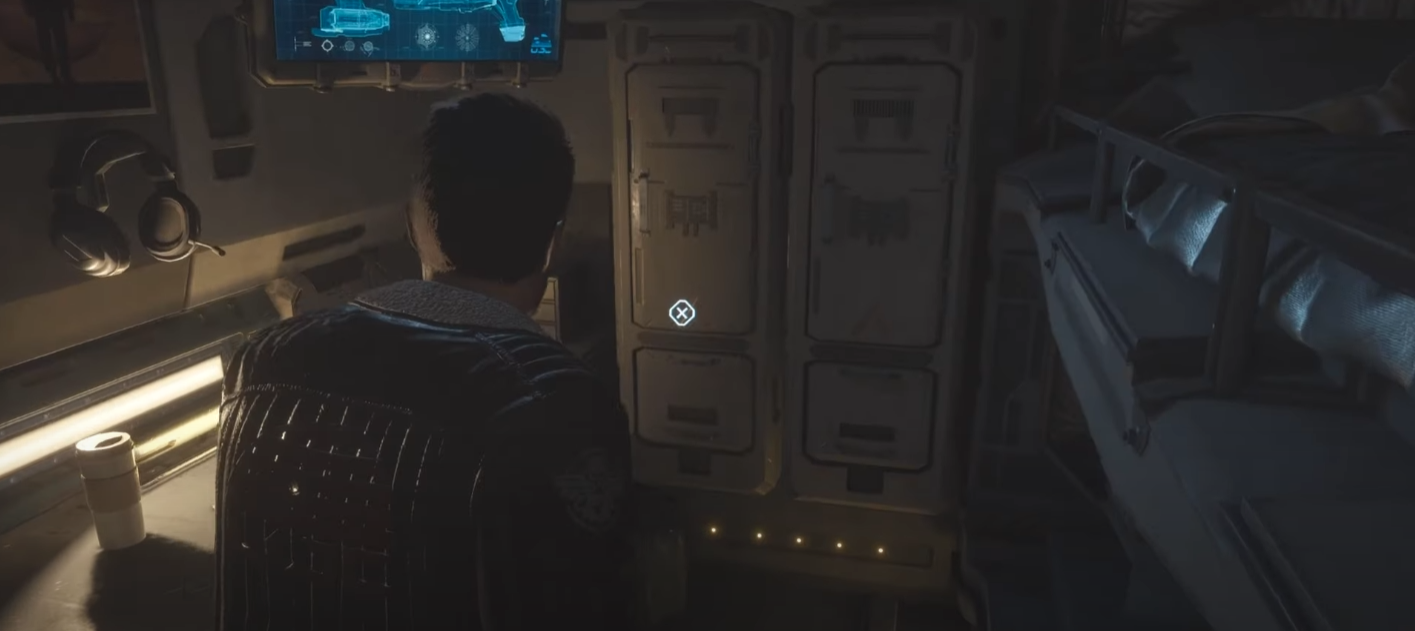
At the very start of the game, when you can walk for the first time, enter the first room on the left that shows green text “Unlocked” on the door, it’s in that room on the shelf.
Chapter I: Videoguide
Chapter II: Description
Description
Image
1.
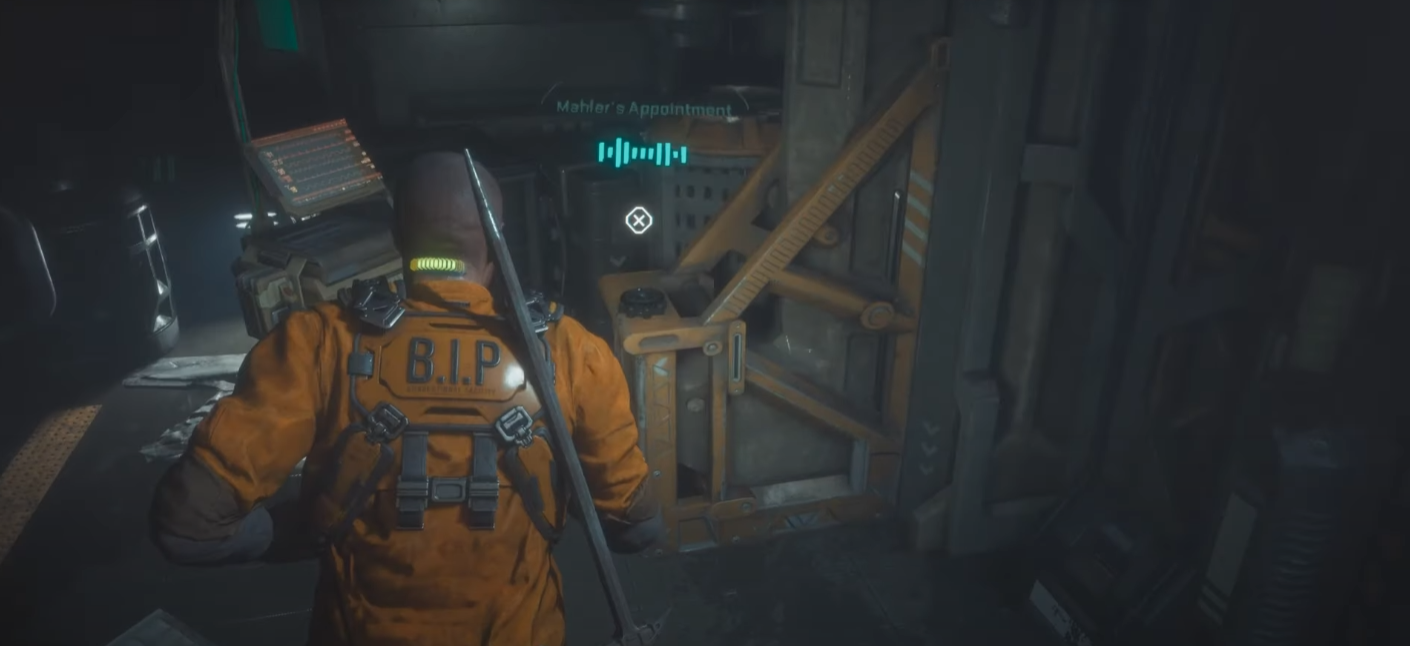
Data-Bios #2 – Dr. Caitlyn Mahler: Mahler’s Appointment
Objective: Find the Weapons Lockup

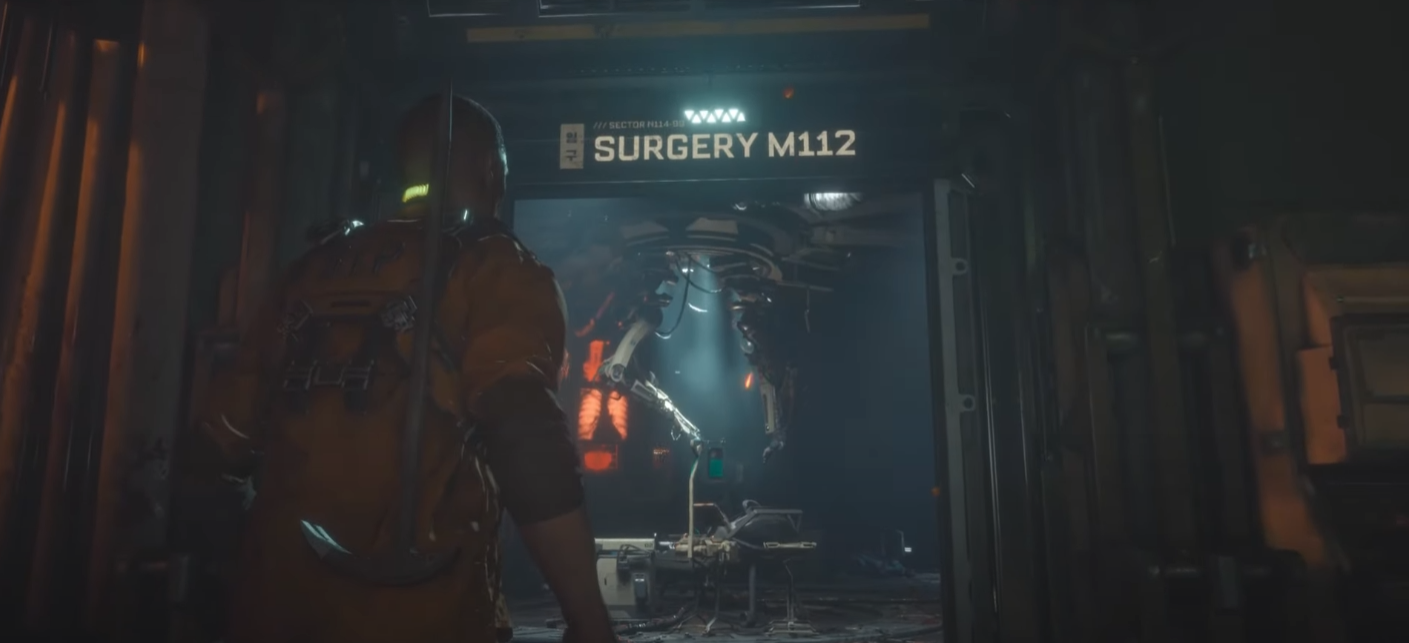
Inside Surgery M112 after avoiding the robot, where you grab the fuse, sitting in the corner.
2.
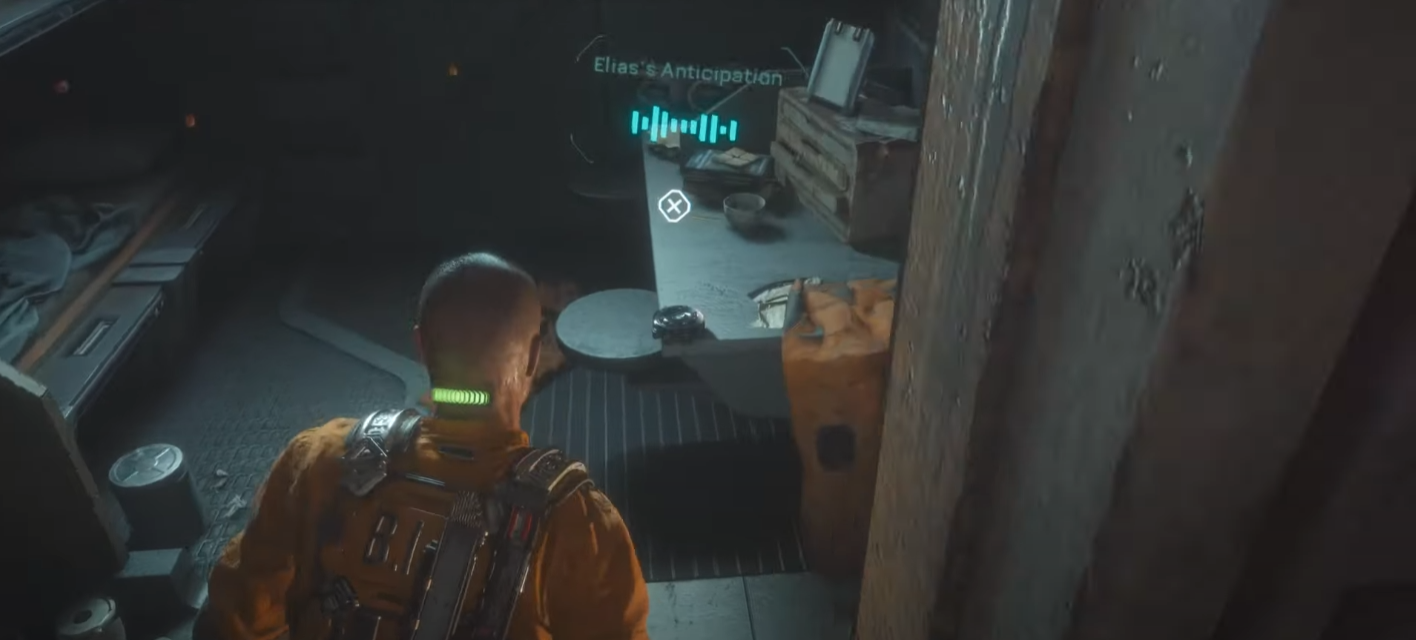
Data-Bios #3 – Elias Porter: Elias’s Anticipation
Objective: Return to the Watchtower

After returning to the prison cells where you fight four enemies, enter Elias’s cell to find this.
3.
Data-Bios #4 – Cpt. Leon Ferris: Ferris’s Lament
Objective: Find Exit

After the cutscene with Cpt Ferris, sitting on the table.
Chapter II: Videoguide
Chapter III: Description
Description
Image
1.
Data-Bios #5 (Harvest #1) – Sgt. Eric Jane: Locked Door
Objective: Locate the Medical Facility / Find a Guard’s Corpse

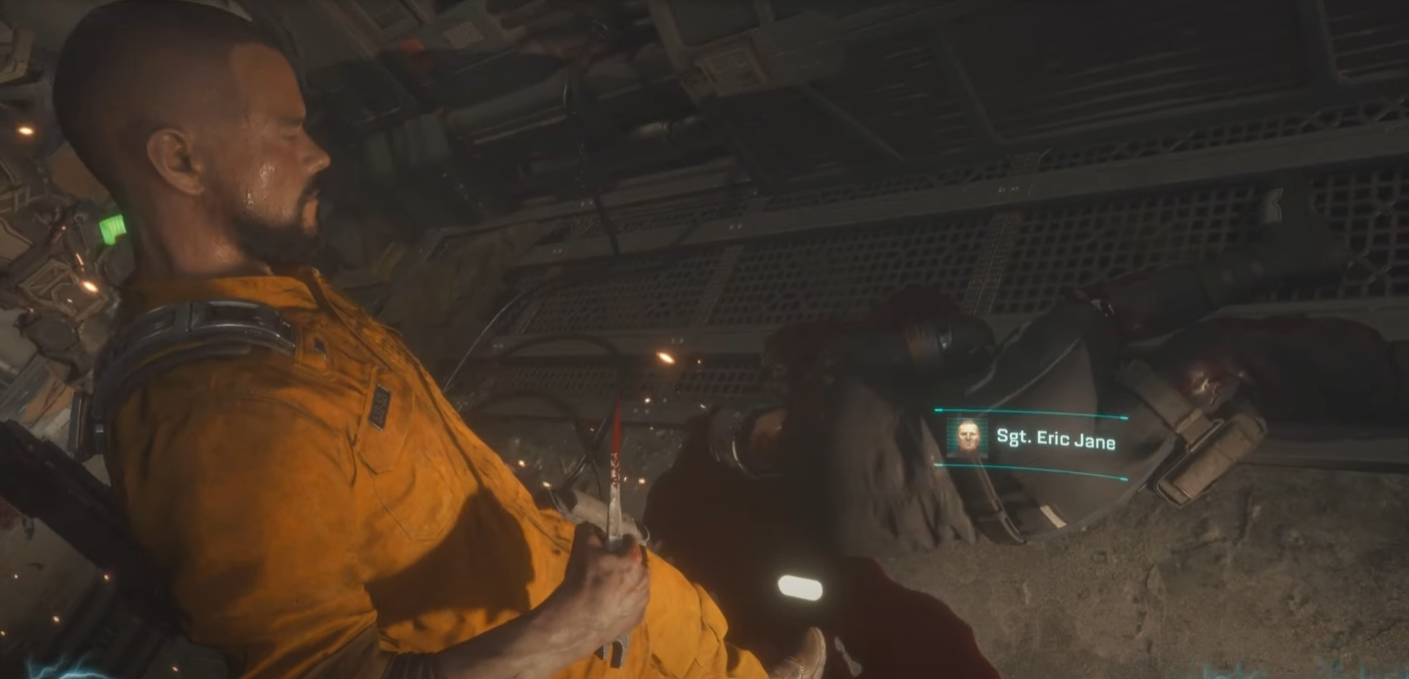
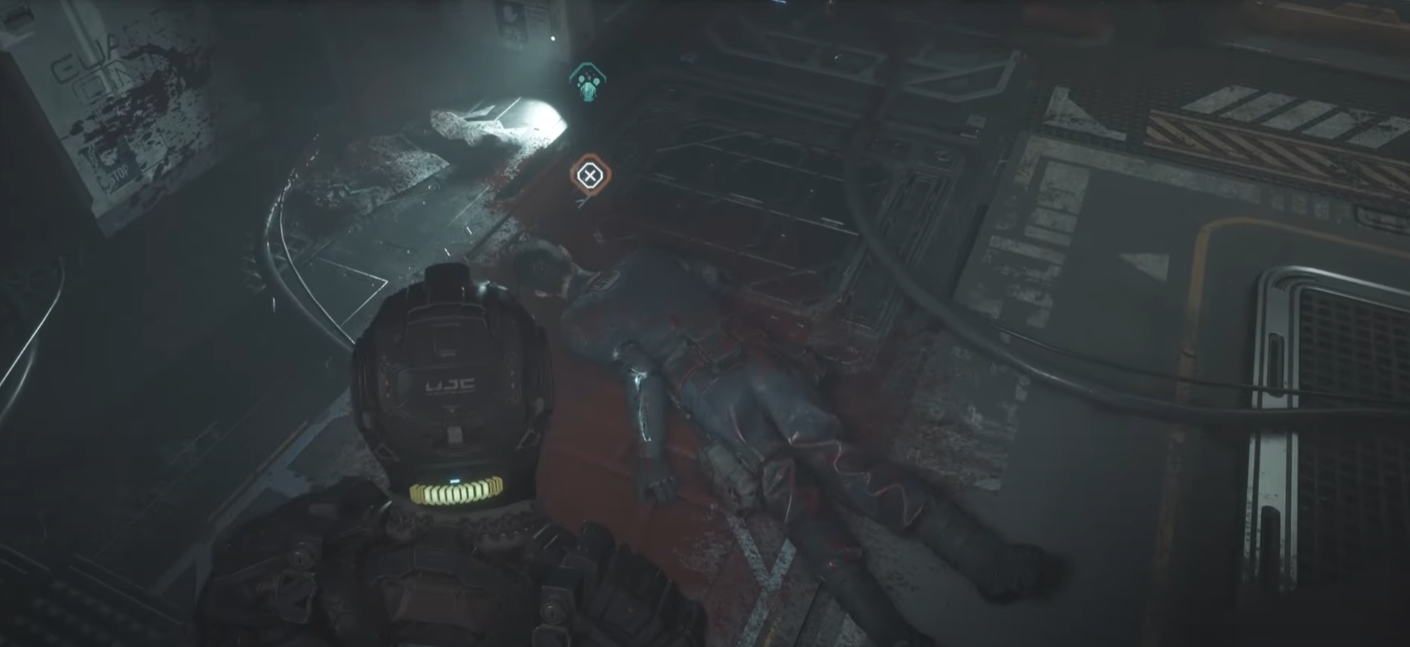
After encountering the first type of enemy that spits green slime projectiles at you, go straight to the end of the corridor into Recreation A225, then in the back of the room in a little side office, climb up the wall into a vent. When leaving the vent on the other side there’s a damaged security robot standing in front of you and a corpse on the ground. Clear out the two enemies in this room and interact with the locked door to Laundry B202. After this, Elias tells you to find a Guard’s Corpse. Backtrack to the damaged security robot, now you can harvest the Implant Bio from the corpse on the ground, in front of the security robot.
2.
Data-Bios #6 (Harvest #2) – Ofc. Pruitt Matos: Laundry
Objective: Locate the Medical Facility

After harvesting the previous bio you can go through the door to Laundry B202. At the end of this room are doors leading left and right. Go through the door to the right, follow this path all the way to the end into Office B112. There you find a corpse to harvest.
3.
Data-Bios #7 – Duncan Cole: Secret Room 1
Objective: Locate the Medical Facility

Backtrack to the main laundry room with the doors heading left and right. This time go through the door to the left. Continue forward and interact with the wall panel to open the door, then crawl through the vent to the right. After leaving the vent continue dropping down the holes in the floor. At the bottom of this underground section, enter the secret room. The bio is in there on the main table.
4.
Data-Bios #8 (Harvest #3) – Dr. Ewan Hayes: MedLab Outbreak
Objective: Reach the Back Exit

Climb back up using the ladder. This time go through the door to Maintenance B414, which leads to the door of Medical Ward C101. Immediately after opening the door to Medical Ward C101, this corpse is on the floor in front of you.
5.
Data-Bios #9 (Harvest #4) – Ofc. Dachs Symmons: Hanged Guard
Objective: Look for an Elevator

After getting the GRP and going through a few doors, you’ll be in a room with lots of hanging bodies. This harvest body will be on the ground in front of you, in the middle of the room.
6.
Data-Bios #10 (Harvest #5) – Ofc. Kerry Brown
Objective: Find a way out of the Basement

After using the maintenance elevator and it crashing in the basement, check near a spinning fan in the basement, on a corpse around to the side.
7.
Data-Bios #11 (Harvest #6) – Tadhg Song
Objective: Restore Power

After crossing the gondola, climb up to where the two fuse switches are to find this corpse next to them.
8.
Data-Bios #12 – Dani Nakamura
Objective: Use Shiv to Exit Cell

You will find it in the cell Dani locks you in during a cutscene, hard to miss.
Chapter III: Videoguide
Chapter IV: Description
Description
Image
1.
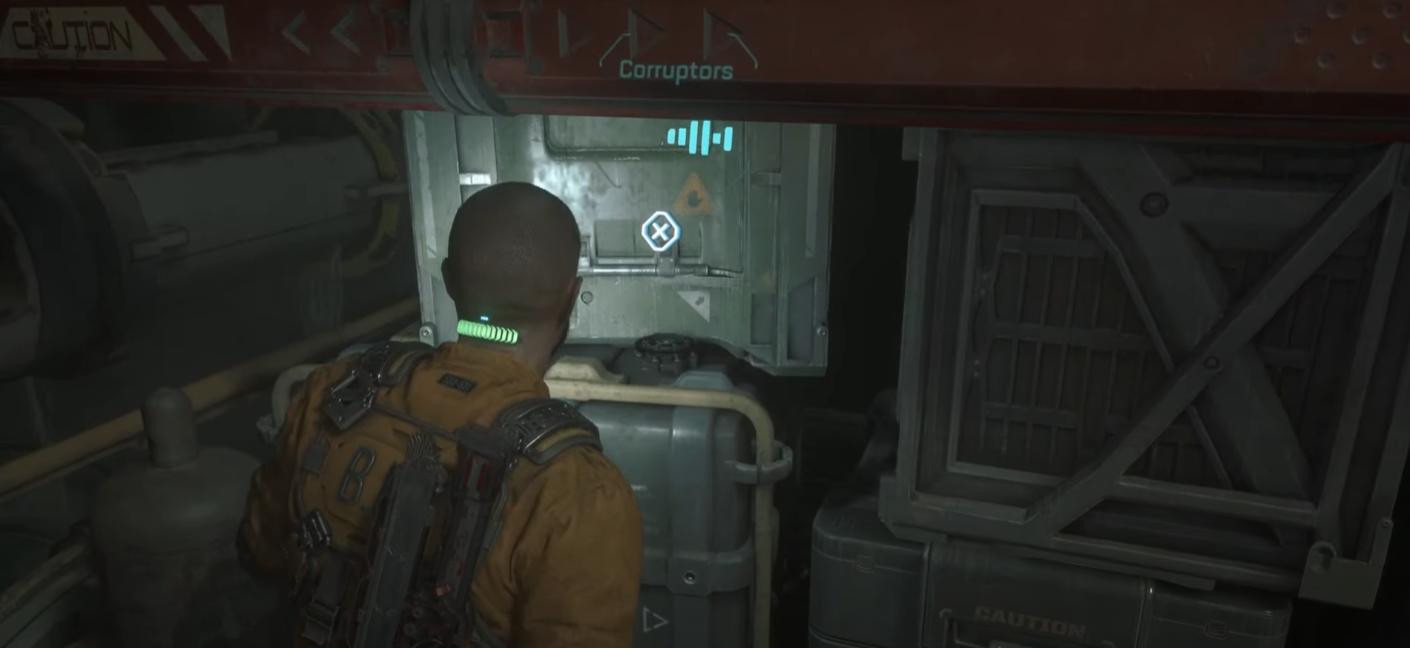
Data-Bios #13 – Dr. Caitlyn Mahler: Corruptors
Objective: Follow the Red Pipe

After going through an area with sludge on the floor, you will crawl through more sludge and will see a body being snatched up by a monster. Afterward follow the linear path until you climb up to another short vent-path and then drop out the other side where the sludge stops. On the left, in front of the door to “Purification B H207”, climb up the box to the small balcony with a resource chest on it. Next to this chest you find the collectible on a box.
2.
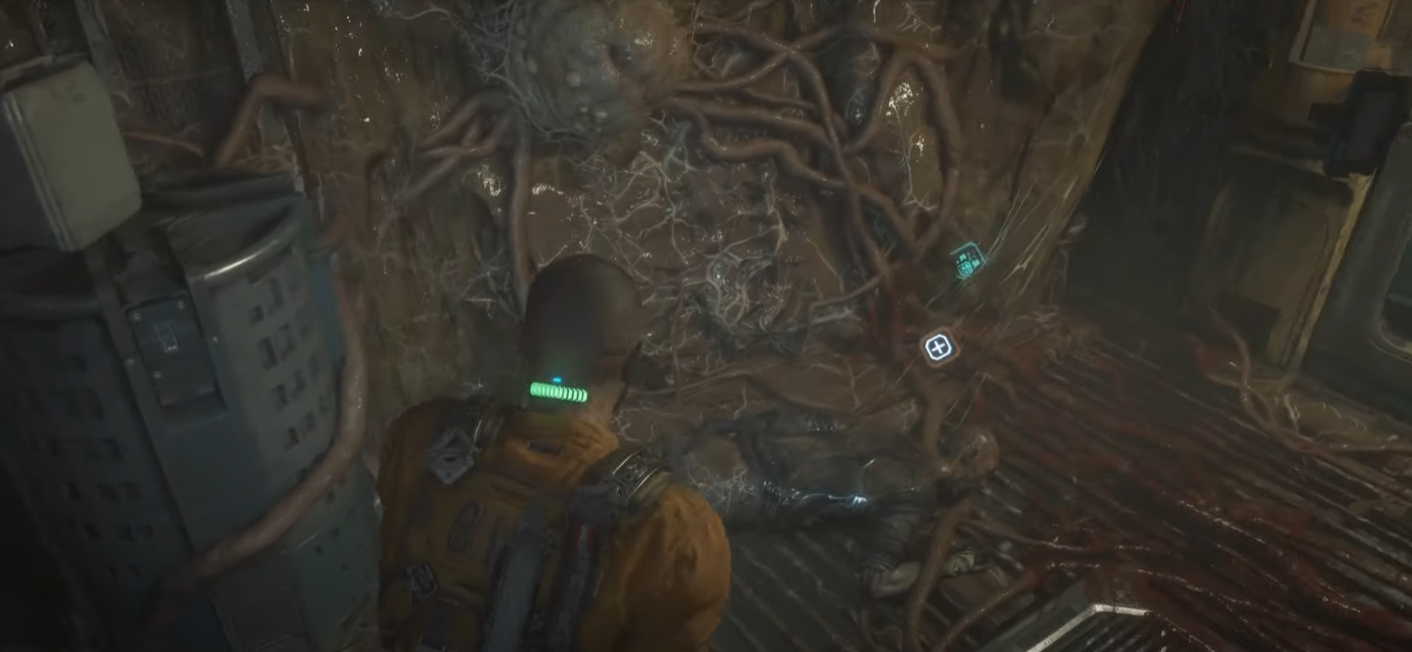
Data-Bios #14 (Harvest #7) – Ofc. Bruno Vorenus: Crosswired
Objective: Follow the Red Pipe

From the last collectible, climb back down and enter the vent to the left of the door to “Purification B H207”. This leads to a room with 2 Gate Fuses you must pick up and place on the switches around the room (mandatory for advancing story). In the corner of the room near the exit is a corpse you can harvest.
3.
Data-Bios #15 – Dr. Jae Moon-Bell: Cocoons
Objective: Follow the Red Pipe

After using valves and getting through the vent you opened with the last one, you will eventually end up in a room where you have to switch fuses again. The fuse can be found after climbing a ladder on the right. After opening the room you will end up in a hallway and you can either enter “Water Control H262” on the right or “Storage Hall H239” at the end of the corridor. Enter the Storage Hall H239, after switching fuses again and going through a decontamination chamber, you will find it on the right side of the room.
4.
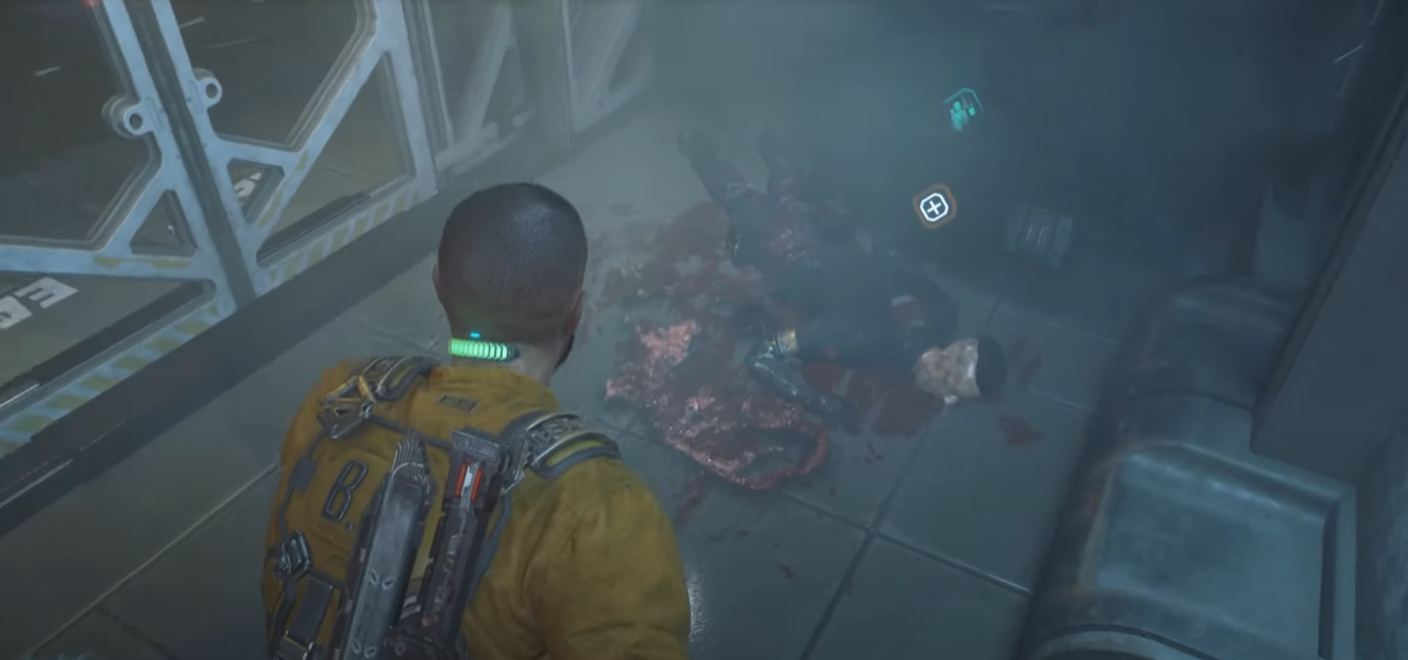
Data-Bios #16 (Harvest #8) – Ofc. James Reese: Suicide Guard
Objective: Get Code from Guard

Automatic from story progression, when you complete objective “Get Code from Guard”. You have to pick it up in order to progress. On the corpse in the room where you get introduced to enemies with tentacles.
5.
Data-Bios #17 (Harvest #9) – Sgt. Bill Pekelo
Objective: Get Code from Guard

This is an automatic pickup from story progression, unmissable. Much later into the chapter (about 15-20 minutes later), after a long water slide section and after passing through the outside area into the Biodome (Botanical Garden). You pick this up automatically when completing the repeated objective “Get Code from Guard” after going through “Botanical H625” and climbing through a vent. (Note: you get multiple “Get Code from Guard” objectives throughout the chapter, this is a different one from the previous one, it’s about 10 minutes after a long water slide section, so just keep playing until the story forces you to pick it up, can’t miss it).

BUG WARNING: Make a Manual Save before picking it up! This collectible is known to not register in the Data-Bios Menu in some circumstances, especially if you die after picking it up it may unregister. Check immediately after picking it up. If it’s blacked out you must reload last autosave and recollect it.
6.
Data-Bios #18 – Ofc. James Reese: Security
Objective: Get Code from Guard

In the same place as the last collectible. Instead of immediately using the harvested Data Bio from the Guard on the console, go through the opposite garden area “Botanical H264”. At the end of this area you can squeeze through a gap to find it. Reminder: if you die after leaving the botanical gardens, you may need to pick this up again (depends when the game triggers a checkpoint for you, so check the Data-Bios Menu in case you die after leaving the area).
7.
Data-Bios #19 – Ofc. Kyle Serra: Evacuation
Objective: Reach the Utility Hatch

After the previous story section you will end up outside again and will have to head to the newly unlocked section. There you can either shiv the door or go down the hatch. Shiv the door first and at the end you will find it. There’s a Spitter and some normal enemies spawning here.
Chapter IV: Videoguide
Chapter V: Description
Description
Image
1.
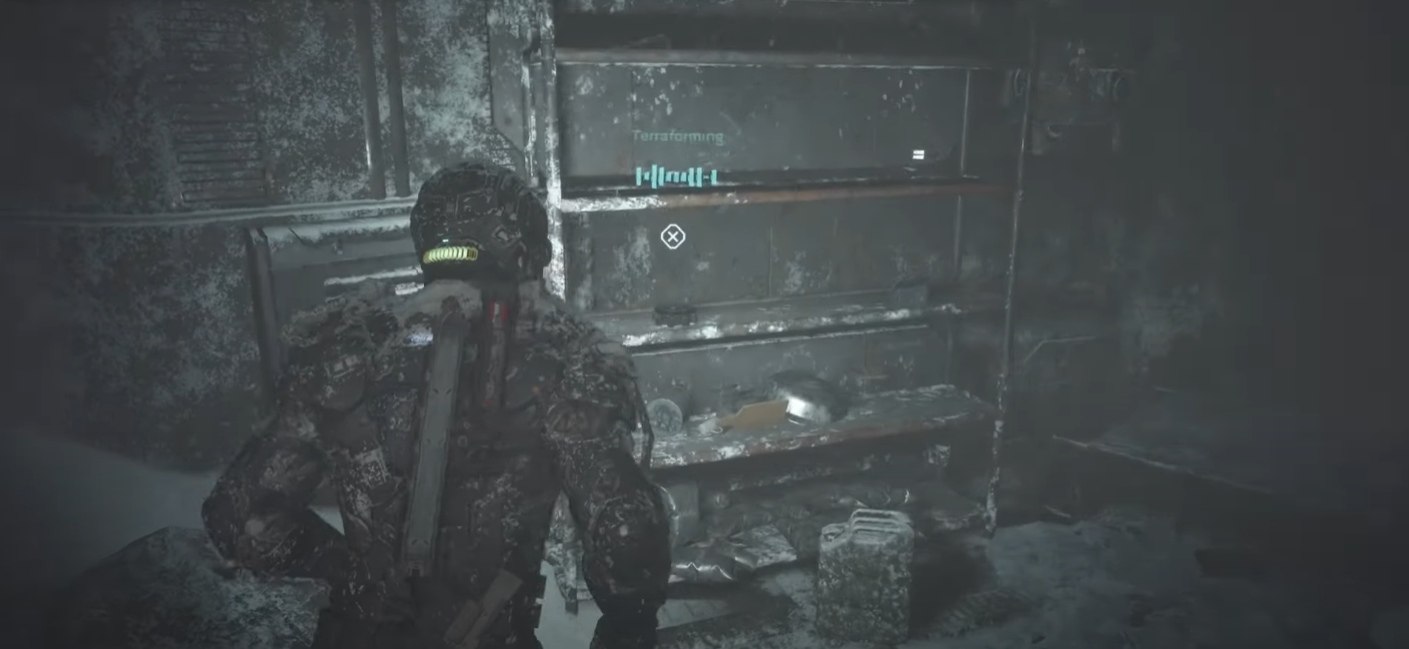
Data-Bios #20 – Miranda Kristofich: Terraforming
Objective: Find Shelter in the Outpost

After the scene with Elias and Dani head through the gate in front of you. You will see one open building on the right and one straight ahead at the end of the area. Head straight and find it on a shelf there.
2.
Data-Bios #21 (Harvest #10) – Richard Cids
Objective: Try to Help the Trapped Worker / Find the Keycode

Automatic from story progression. You will get it after surviving the onslaught in the snowy area and find it on a corpse once the door opens. You have to pick it up to complete Objective.
3.
Data-Bios #22 – Dr. Caitlyn Mahler: Combustors
Objective: Find A Way Through the Tunnels

Once you enter the tunnels and crawled under some debris, you reach the first road split and can either go left or right (path straight ahead is blocked by debris). Go left to find it.
4.
Data-Bios #23 (Harvest #11) – Lt. Devon Wayne: Close the Gate
Objective: Get to Dani / Use the code to open the gate

After a big fight in a hangar area, there’s a cutscene where Dani gives you the shotgun “Riot Gun”. After the cutscene head upstairs and find the corpse on the floor behind the tables.
5.
Data-Bios #24 (Harvest #12) – Ofc. Aaron Taycho
Objective: Explore the Power Station

Inside the Power Station, after using a console to open the gates, head into the next room (“Prisoner Transfer S408”) and on the ground floor you can find the corpse stuck in spinning blade contraption. Picking it up will reactivate all the environmental traps in the room and triggers enemies.
6.
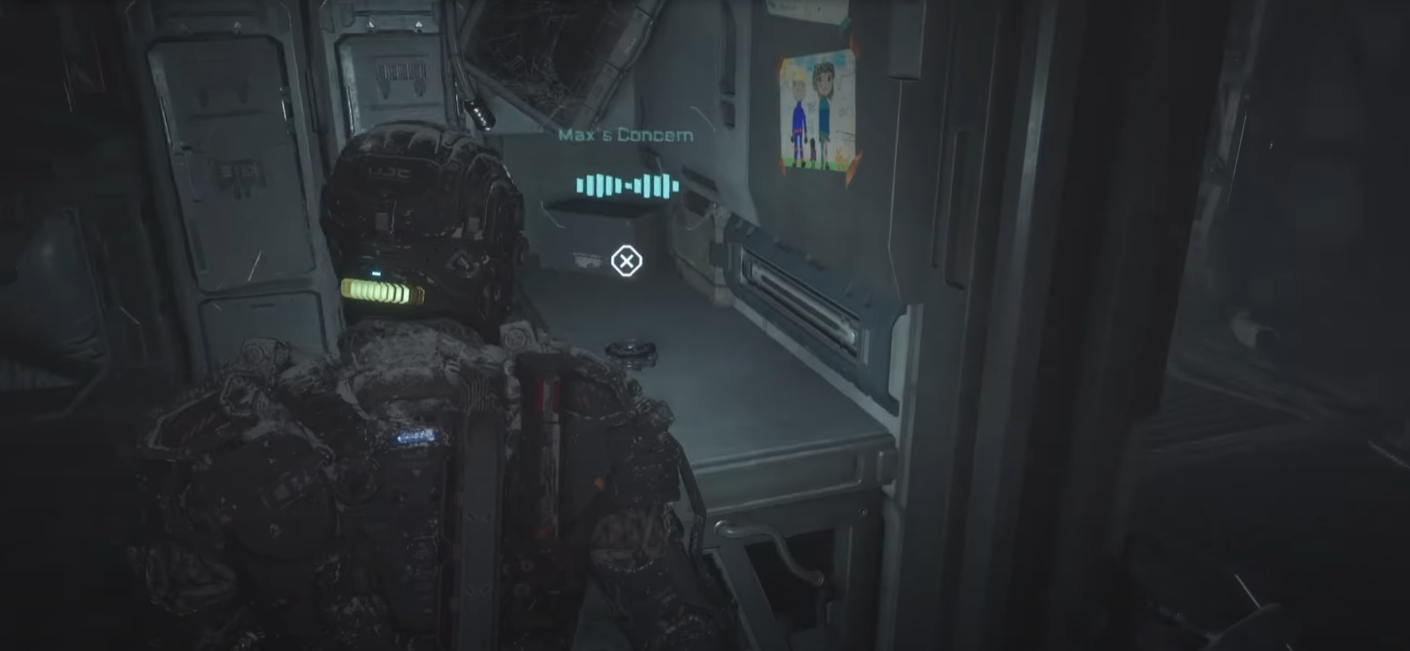
Data-Bios #25 – Max Barrow: Max’s Concern
Objective: Find Dani

When you return to your crashed spaceship check the second room on the left.
7.
Data-Bios #26 (Harvest #13) – Sgt. Scott Dvitny: Eradication
Objective: Follow Dani

Shortly after the previous collectible you walk through snow and then squeeze through a gap to enter the hangar with Dani. On the right side of the hangar, check the vehicle’s back to find the corpse.
8.
Data-Bios #27 – Dr. Caitlyn Mahler: Shipments
Objective: Follow Dani

In the room with several dying security robots, where Dani calls the Elevator. In the right corner of the room you can find this while you wait on the elevator to arrive.
Chapter V: Videoguide
Chapter VI: Description
Description
Image
1.
Data-Bios #28 – Dr. Sheehan Yune: Field Log 1
Objective: Reach the Transport Hub

After Jacob frees himself from the wires while hanging upside down. Kill the first enemy and follow the path. In the next room with an enemy it will be in this room on a workbench.
2.
Data-Bios #29 – Dr. Sheehan Yune: Field Log 2
Objective: Reach the Transport Hub

You will come to a section with a grabbing snake-head enemy followed by 5 blind ones roaming the area. When entering the next corridor go left and find it on some crates. You can also start working on Trophy: Giving Back here by stabbing the blind enemies from behind. Just keep doing this throughout the chapter until you killed 6 blind enemies total for the trophy.
3.
Data-Bios #30 (Harvest #14) – Dr. Sheehan Yune: Field Log 3
Objective: Locate the Power Reactor

After using the keycard to enter the power tunnels. At the first road split don’t go downhill yet, but instead enter the corridor to find it at the end there.
4.
Data-Bios #31 – Yannick Sage: Secret Room 2
Objective: Locate the Power Reactor

After an encounter with a spitter and crawling enemies on the ground who have their legs cut off, you must squeeze through a gap and climb a ladder. After the ladder, straight ahead you can squeeze between the rocks and to the right is the Power Reactor. Squeeze between the rocks straight ahead (don’t enter Power Reactor room yet). Finish the path and you can find this data as well as Secret Room 2 here. The Commonality Trophy also pops here when entering the secret room (you may also need “Data-Bios #7 – Duncan Cole: Secret Room 1” from Chapter 2 to unlock the unlock here).
5.
Data-Bios #32 (Harvest #15) – Arden Jeddha: Arcas Evacuation
Objective: Locate Arcas Station

After defeating two-head, step off the platform and follow the path to find this on a corpse, before entering the next door.
Chapter VI: Videoguide
Chapter VII: Description
Description
Image
1.
Data-Bios #33 (Harvest #16) – Alex Wang: Miner Log 1
Objective: Locate the Old Colony

At the very beginning of the chapter, go down the little staircase where you start, turn left to find it on a corpse in the middle of the path.
2.
Data-Bios #34 – Derryn Barr: Miner Log 2
Objective: Locate the Old Colony

After a scene where Dani tells you to meet her at the tower. Enter the next room and check the shelf before going down the ladder.
3.
Data-Bios #35 (Harvest #17) – Derryn Barr: Miner Log 3
Objective: Find A Way Up To The Light Tower

In the next area with the blind enemies head up the ladder. Immediately after climbing up check the first electronic door on the right that shows green text “Unlocked” on it. It’s on a corpse in that room.
4.
Data-Bios #36 (Harvest #18) – Yannick Sage: The Mole
Objective: Ascend the Elevator to Hightown / Find Dani at the Roof Tops

After taking the elevator up it will be right in front of you after exiting the elevator.
5.
Data-Bios #37 (Harvest #19) – Buidhe Reddwork: HighTown
Objective: Find Dani at the Roof Tops

Shortly after the previous collectible, after going upstairs to the rooftops, it’s in the first house on the right, on a corpse. Before reaching a sign with 2 arrows pointing left and right to “Bathroom” and “Roof Top”. (You must find a Gate Fuse in this area too)
6.
Data-Bios #38 (Harvest #20) – Ji-Kwan Park: Miner Log 4
Objective: Unlock Rooftop Door with Fuse

At the end of the area from the previous Collectible. After using the Gate Fuse to open the door, it’s on the floor in front of the crafting station (shop where you buy/sell items).
7.
Data-Bios #39 – Duncan Cole: Disagreement
Objective: Find out where you are

Much later into the Chapter (about 20-30 minutes later). After the Cpt. Ferris boss fight you will ride a moving platform with a longer cutscene of Dani (takes 1.5 minutes). After stepping off the moving platform you find it on a box on the right.
Chapter VII: Videoguide
Chapter VIII: Description
Description
Image
1.
Data-Bios #40 – Dr. Tala Ismene: Observation
Objective: Exit the Server Control Room / Search for the Lab

After defeating yet another two-head and opening the door with the fuse, at the end of the hallway when going in the left direction.
2.
Data-Bios #41 – Dr. Tala Ismene: Taken
Objective: Get Through Asylum / Unlock Door M150 with Fuse

In the psych ward after crawling through a vent to obtain a fuse, check the blocked stairs that you can go up halfway.
3.
Data-Bios #42 – Edward Bates: Experimentation
Objective: Get Through the Medical Facility / Talk to Dr. Mahler

After fighting yet another two-head + mobs in a hallway with big fans, continue on and Dr. Mahler will open a door for you telling you to get inside. After going through the door check the right side to find it. :gold: Grim Reaper Trophy should unlock here! (If not, check your inventory and make sure all Data-Bios are registered from previous chapters, if one is missing you must replay the game).
4.
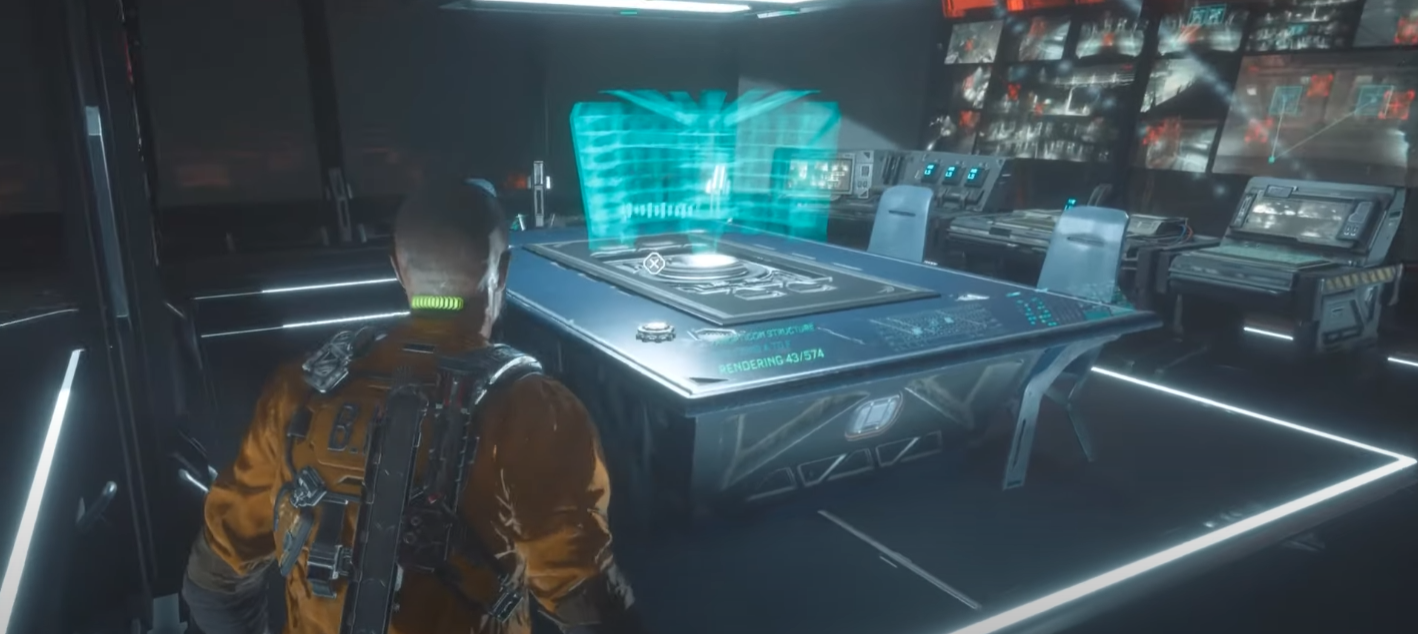
Data-Bios #43 – Duncan Cole: Cole’s Triumph
Objective: Talk to Dr. Mahler

After taking the elevator up to the tower with Dani, this Data-Bio will be sitting on a white desk in the gallery-looking room after exiting the elevator. The trophy should already have popped from the previous Collectible but this one is the final entry in the Data-Bios menu.
Chapter VIII: Videoguide
Conclusion

Please let me know in comments below or add me to ask a question about the guide. Also you can get additional achievement if you rate, add to favorite or reward this guide.

Many thanks to PowerPyx portal and original article [www.powerpyx.com] for information support.


Also check out my 100% achievement guide for The Callisto Protocol. Hope you enjoy it!
https://gtm.you1.cn/sharedfiles/filedetails/?id=2896234519
10 Comments
EL_Ingo_66 13 Jul, 2023 @ 1:04pm 
Data-Bios #38 (Harvest #20) – Ji-Kwan Park: Miner Log 4:

In the room this collectible is supposed to be, there is no body. Is this a bug (reloading checkpoint before entering the room did not fix that) or was the position changed with some updates?

Anyone else with that problem?
Prong 17 Dec, 2022 @ 7:37pm 
@Savager No sir-ee. You have to do it all in one go, or not at all.
Savager 9 Dec, 2022 @ 8:07am 
Can anyone confirm or deny if you can redo the chapters for collectibles only? Or do you have to play all over again?
ZombieLover84 8 Dec, 2022 @ 9:13am 
I see you credited Powerpyx, but that doesn't count. You make it sound as if your guide is just "based" on his original article.

When in actuality, you copy/paste a ton of HIS words. You use none of your own.
kpr 5 Dec, 2022 @ 3:16pm 
I've just finished the game, missing two Mahler logs (Corruptors and Combustors) and I still got Grim Reaper. That would mean only implants matter, not audio logs.
Freeman 5 Dec, 2022 @ 8:20am 
Thanx for this guide :bonfire2:
XEALEEN  [author] 3 Dec, 2022 @ 12:33pm 
Fixed
krishtian 3 Dec, 2022 @ 12:01pm 
Chapter 5 and 6 have the same video
SaLaDiN 3 Dec, 2022 @ 12:13am 
Great guide, I always prefer screenshots over videos.
Meat-King, The Ultimate 2 Dec, 2022 @ 3:29pm 
Thank you for this excellent guide.