Starbound

Starbound

116 ratings
Basics of Wiring: An introduction for Beginners
By Omnisloth
New to wiring or want to start from the beginning? Read this guide to start learning how wiring works in Starbound and how to use the wiring tools in the game.
   
Award
Favorite
Favorited
Unfavorite
Foreward
Now that Starbound has been officially released, this guide will attempt to cover the basics of the wiring mechanic in the game. The content below was originally written for version Furious Koala and has been updated over time. As such, this guide may have some old, out-of-date information. If you find anything that's incorrect let me know in the comments section below.
Materials Needed
This guide will introduce you to how circuits can be created in game and how to make some basic tools with them.

Tools Required

To start, you'll need 9 manipulator upgrade mods. This will allow you to fully unlock all items in the Expansion Slot section of the Matter Manipulator.

Once that's done, you'll now need to craft the Wiring Station. This can be done at the Architects Crafting table and requires the following items:

  • 10 x Copper Wire
    • Drops from robotic enemies or crafted
  • 1 x Battery
  • 10 x Durasteel Bars
  • 5 x Silicon Board
    • Drops from robotic enemies or crafted
  • 2 x Stick of RAM
    • Drop from robotic enemies.

Putting It Together: Creating Your First Circuit
Before we create a circuit, let's first look at how our connections work. You may need some items before-hand. I suggest stealing re-appropriating some items from apex ruins or randomly found high-tech locations.


Outputs

If you equip your wiring tool, you'll see a RED circle on different "wire"-type items. This represent's an output node. So, if you were to use the terminal, your terminal would send either an On or Off signal. It should be noted that different items in the game behave differently. For example buttons or proximity sensors will turn off and on automatically after being triggered. An item's output can be used many times, so you can have one button or switch work with many items.


A BLUE circle indicates an input node. Any time you have an item with a Output node, you'll be connecting it to the target input node. Like our output node, you can have multiple devices connected to a single input node.

Creating a door switch

Let's first start out with a simple example of inputs and outputs: let's create a door that opens with a hand-print scanner.

What you'll need:

  • A door (any type will do)
  • A terminal or interactive panel.
  • A Wiring Tool

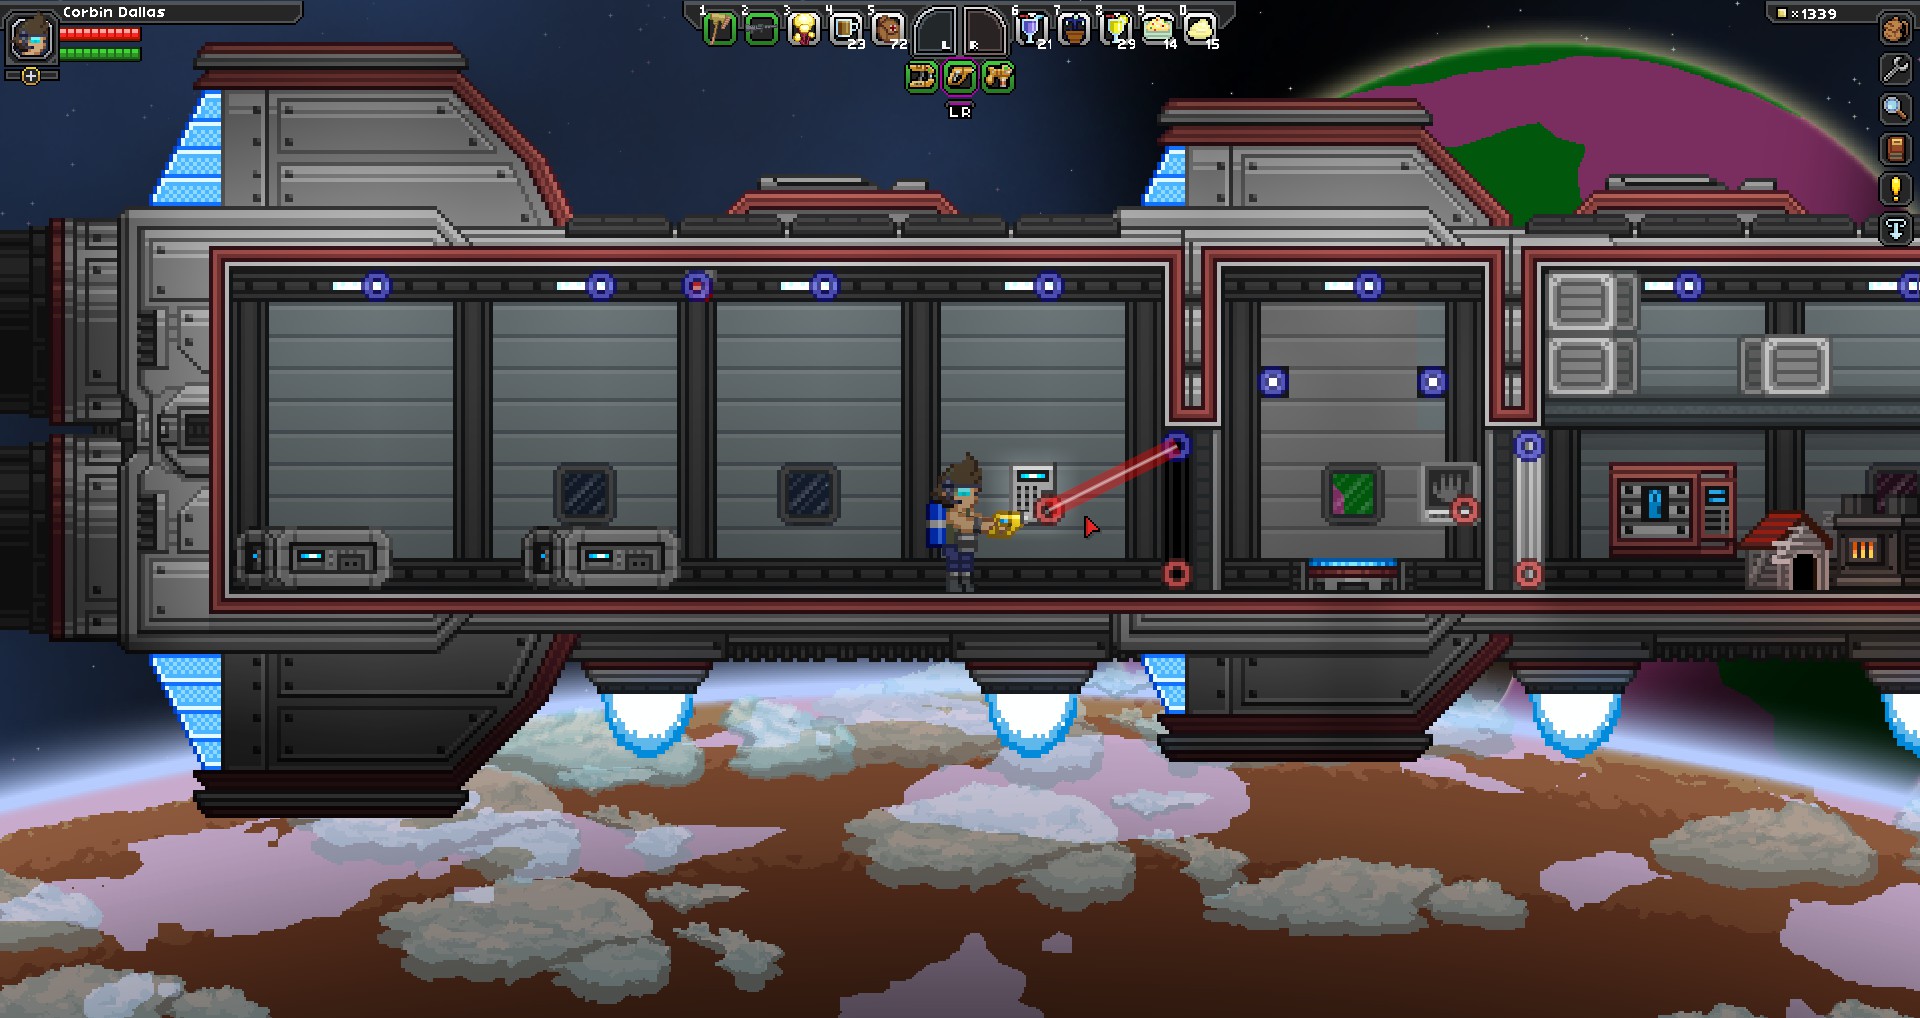
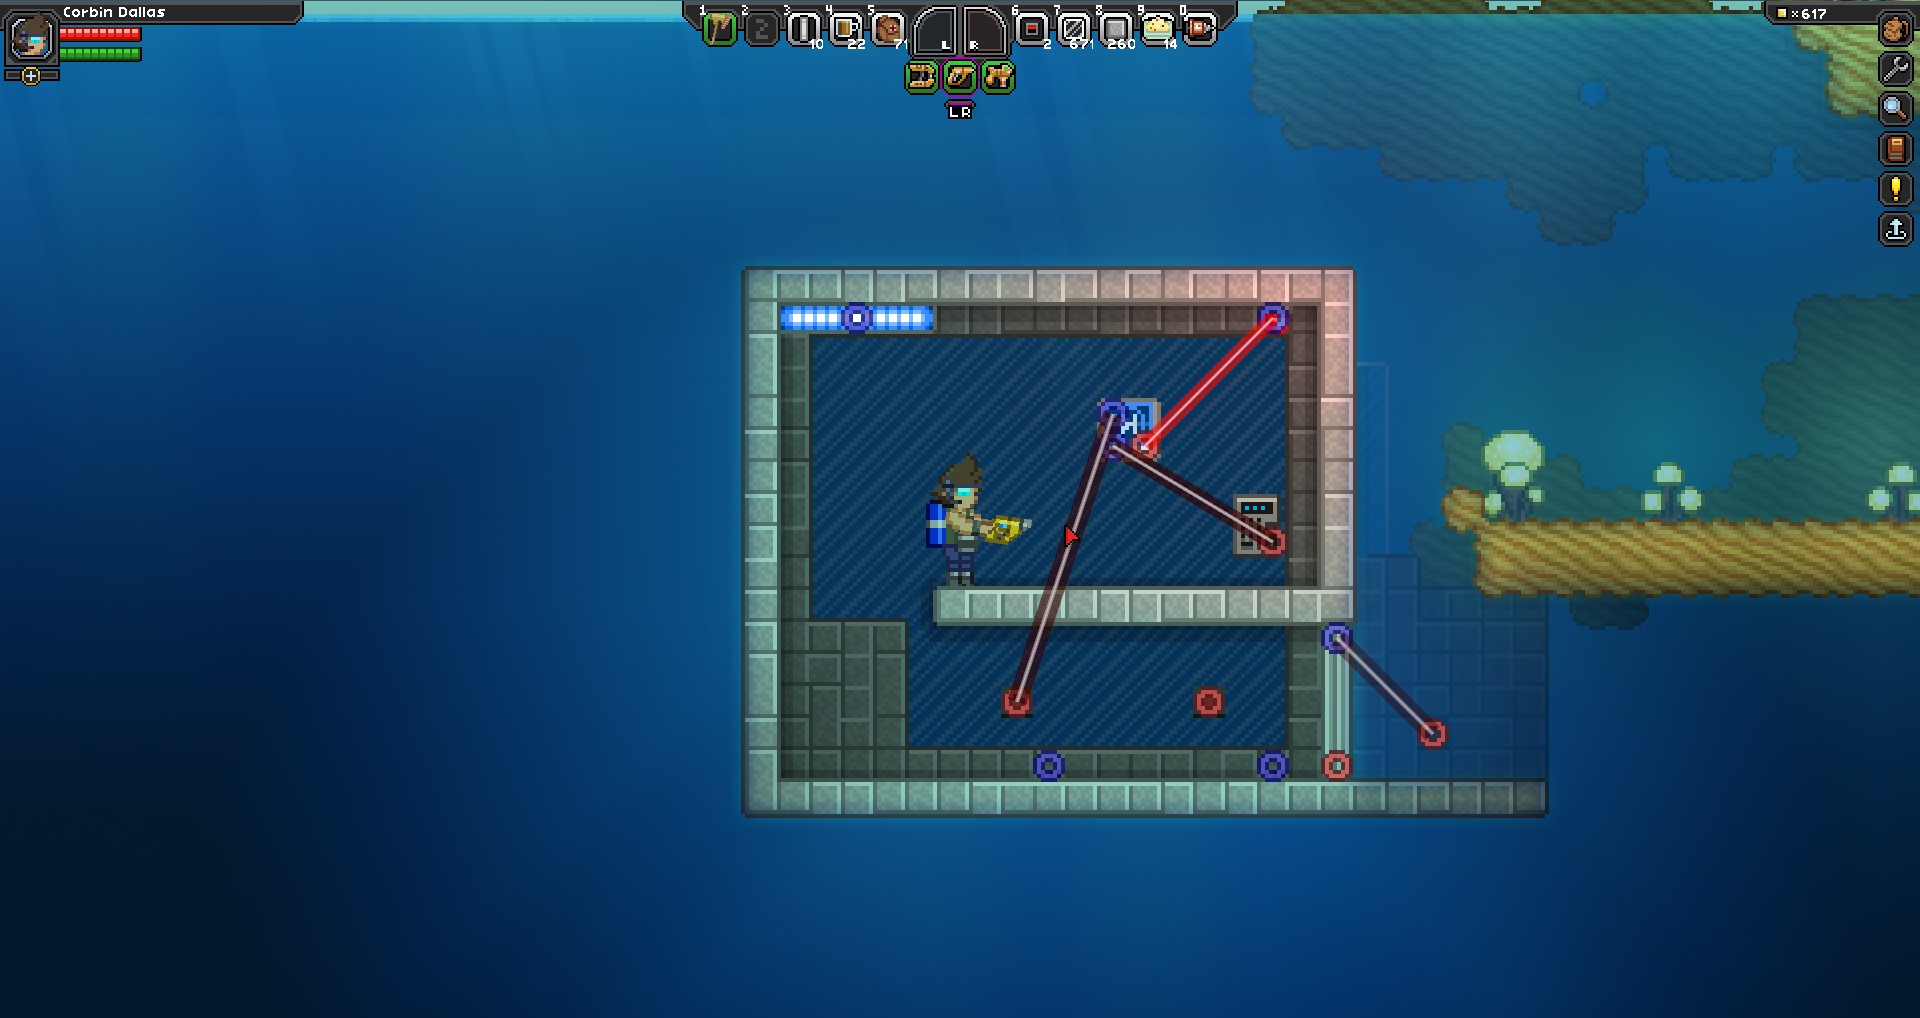
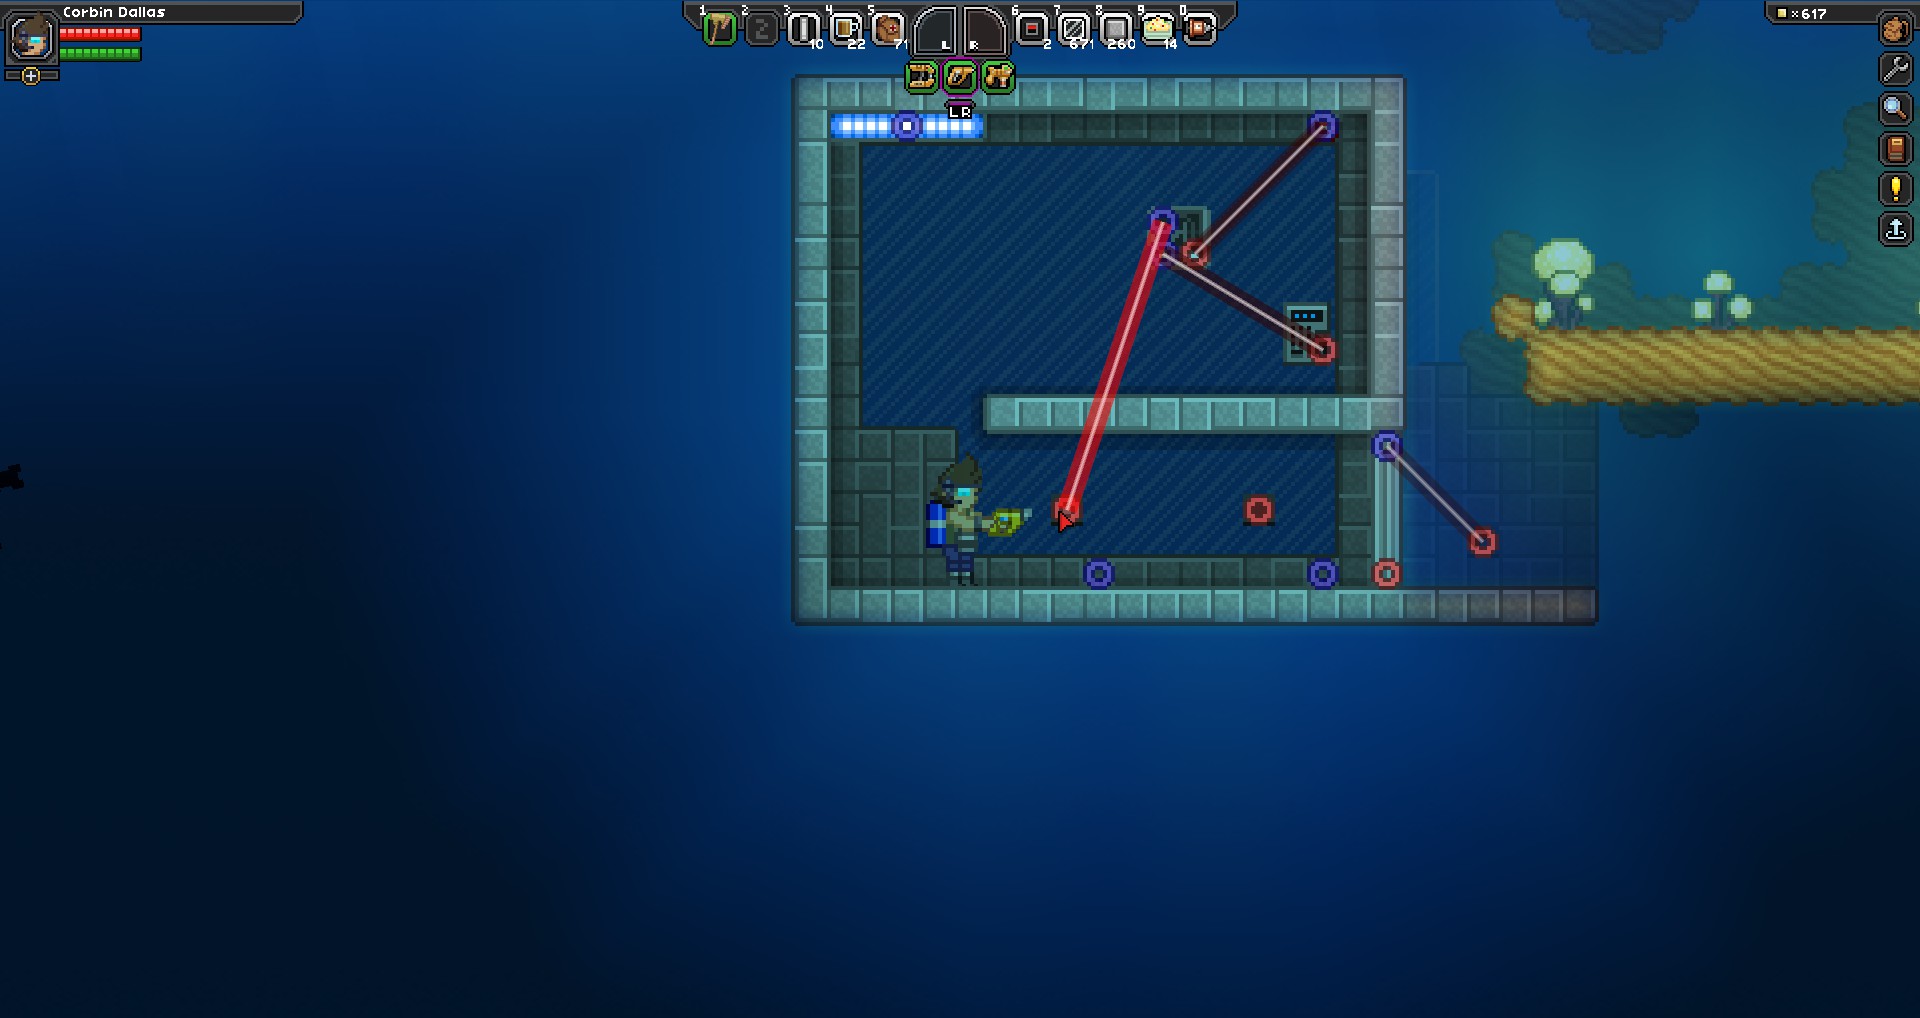
First, let's equip our wiring tool, and get near the terminal (or button if you're using one). From the red dot (output) on your device, left click. You'll hear a click and if you move around, you'll see a red line being created originating from the output circle. This red line is basically your wire.


Now, let's connect our wire to our door. Remember, since our circuit starts from a red (output), we'll need to connect to a blue(input). Just like starting out, move towards the door and connect it to the blue circle. It doesn't matter which node you select first, at long as a red goes to a blue in the end, you're OK. If you mess up, just right-click the circle and it will remove all connections to that spot. Once your connection is successful, you should see a line from the output to the input.


Congratulations! You've just created a simple door switch. Use the device to see the door open.

At this point, it's important to know that your door will no longer open by using it. You will need to trigger the door via your dvvice everytime. The same goes for closing it. If you do what I do on occasion and get yourself locked inside the door, just use the right-click function of the wiring tool to remove the connections to the door, and you'll be able to manually open and close the door.

Now, keep your Wiring Tool out so you can see how the game shows when your circuit is in operation. When you throw the switch, you'll see your dim red wire glow bright red. This means that your output is in an On state and sending it's signal to your door to open. The dim state on the wire means that the output is currently in an Off state.


In the next section, we'll assemble an automatic door that will open and close automatically once you pass by.
Whoosh! Creating Your First Automatic Door
Everyone loves automatic doors! No longer will you need to close every door you open, nor will you worry about your fellow players letting some creature inside your house because they forgot to close the door. So how do we create one? It's simple, you'll need the following:

  • A door
  • 2 x Proximity Scanners
    • 1 x Laser Diode, each
    • 1 x Circuit Board, each
    • 1 x Steel bar, each
    • Proximity sensors and scanners activate/turn on when an object approaches it (objects include players and alien monsters). Scanners are wall mounted and sensors are floor mounted.

The Instruction Set
Now, let's think up what we want to happen. What we want is a door to open when I approach the door from either side. Since we'll be using two sensors, I want the door to open when either sensor is turned On.

Placement
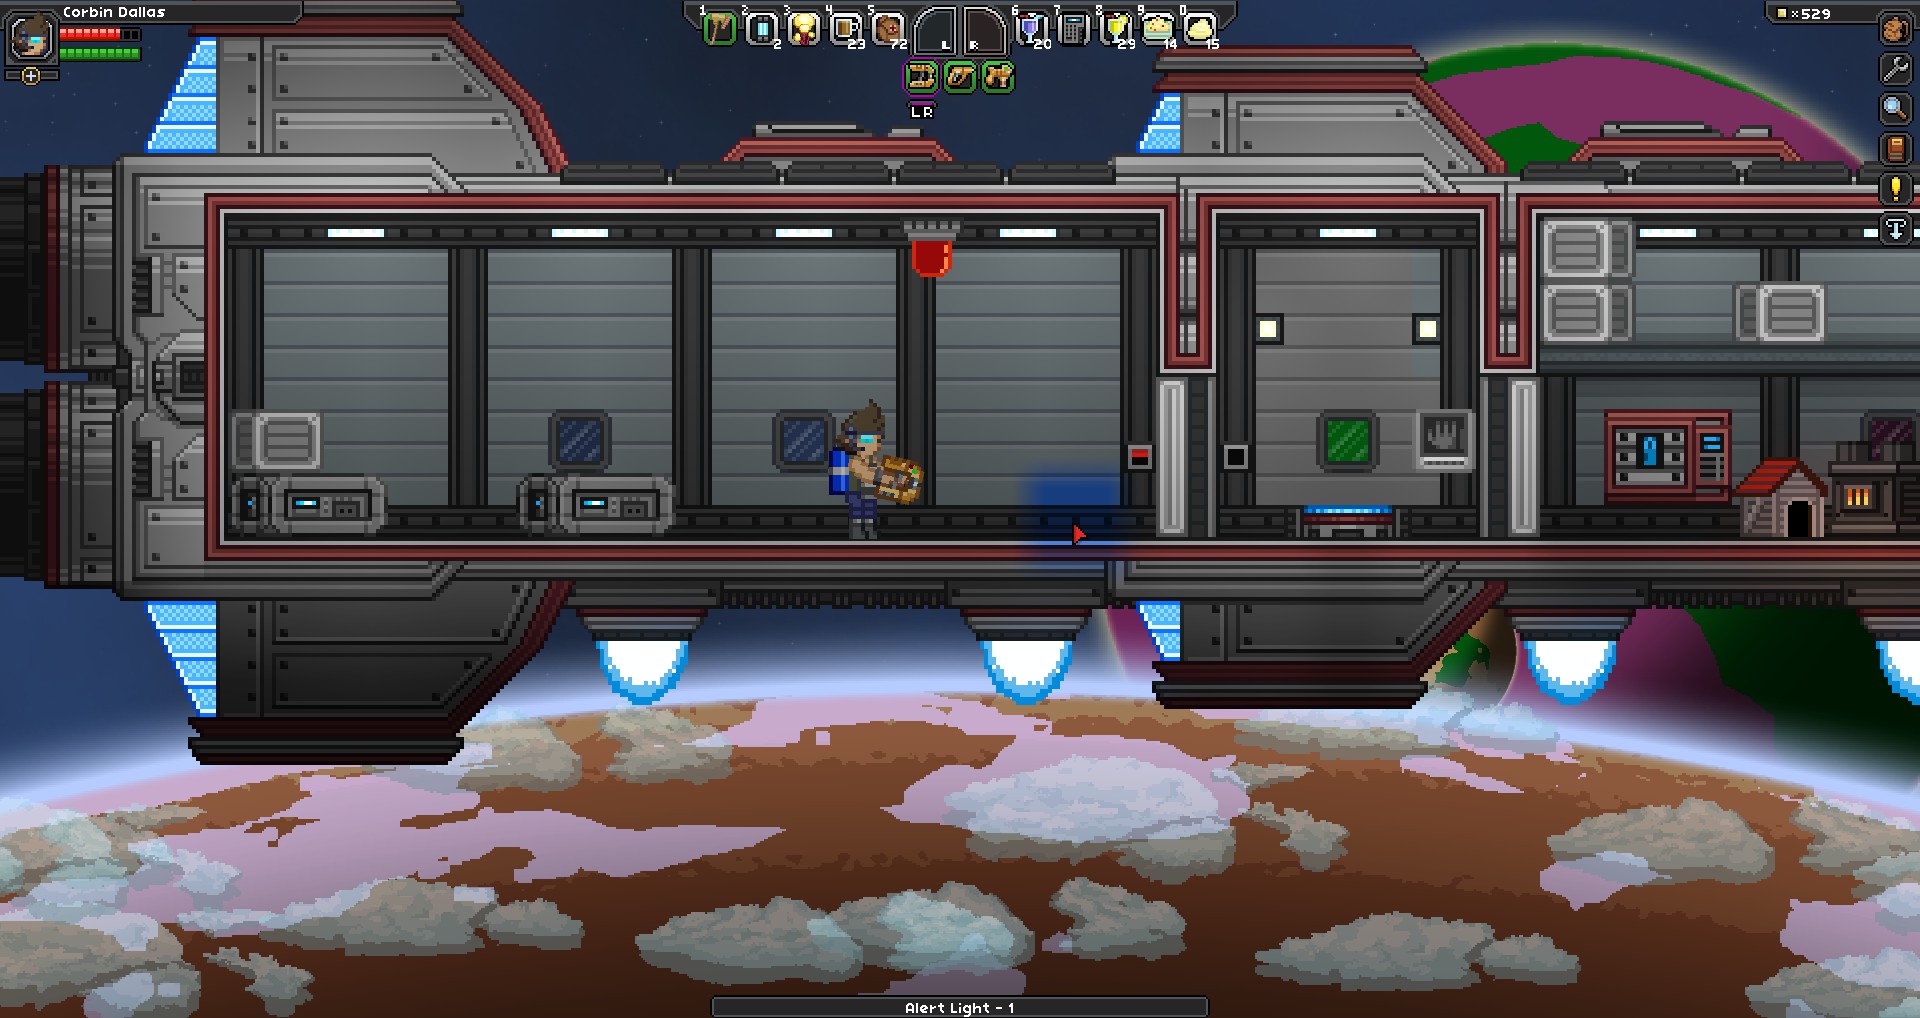
Since we'll want to have our door open whether we're coming or going, place your door down and put a sensor on both sides, as shown below.


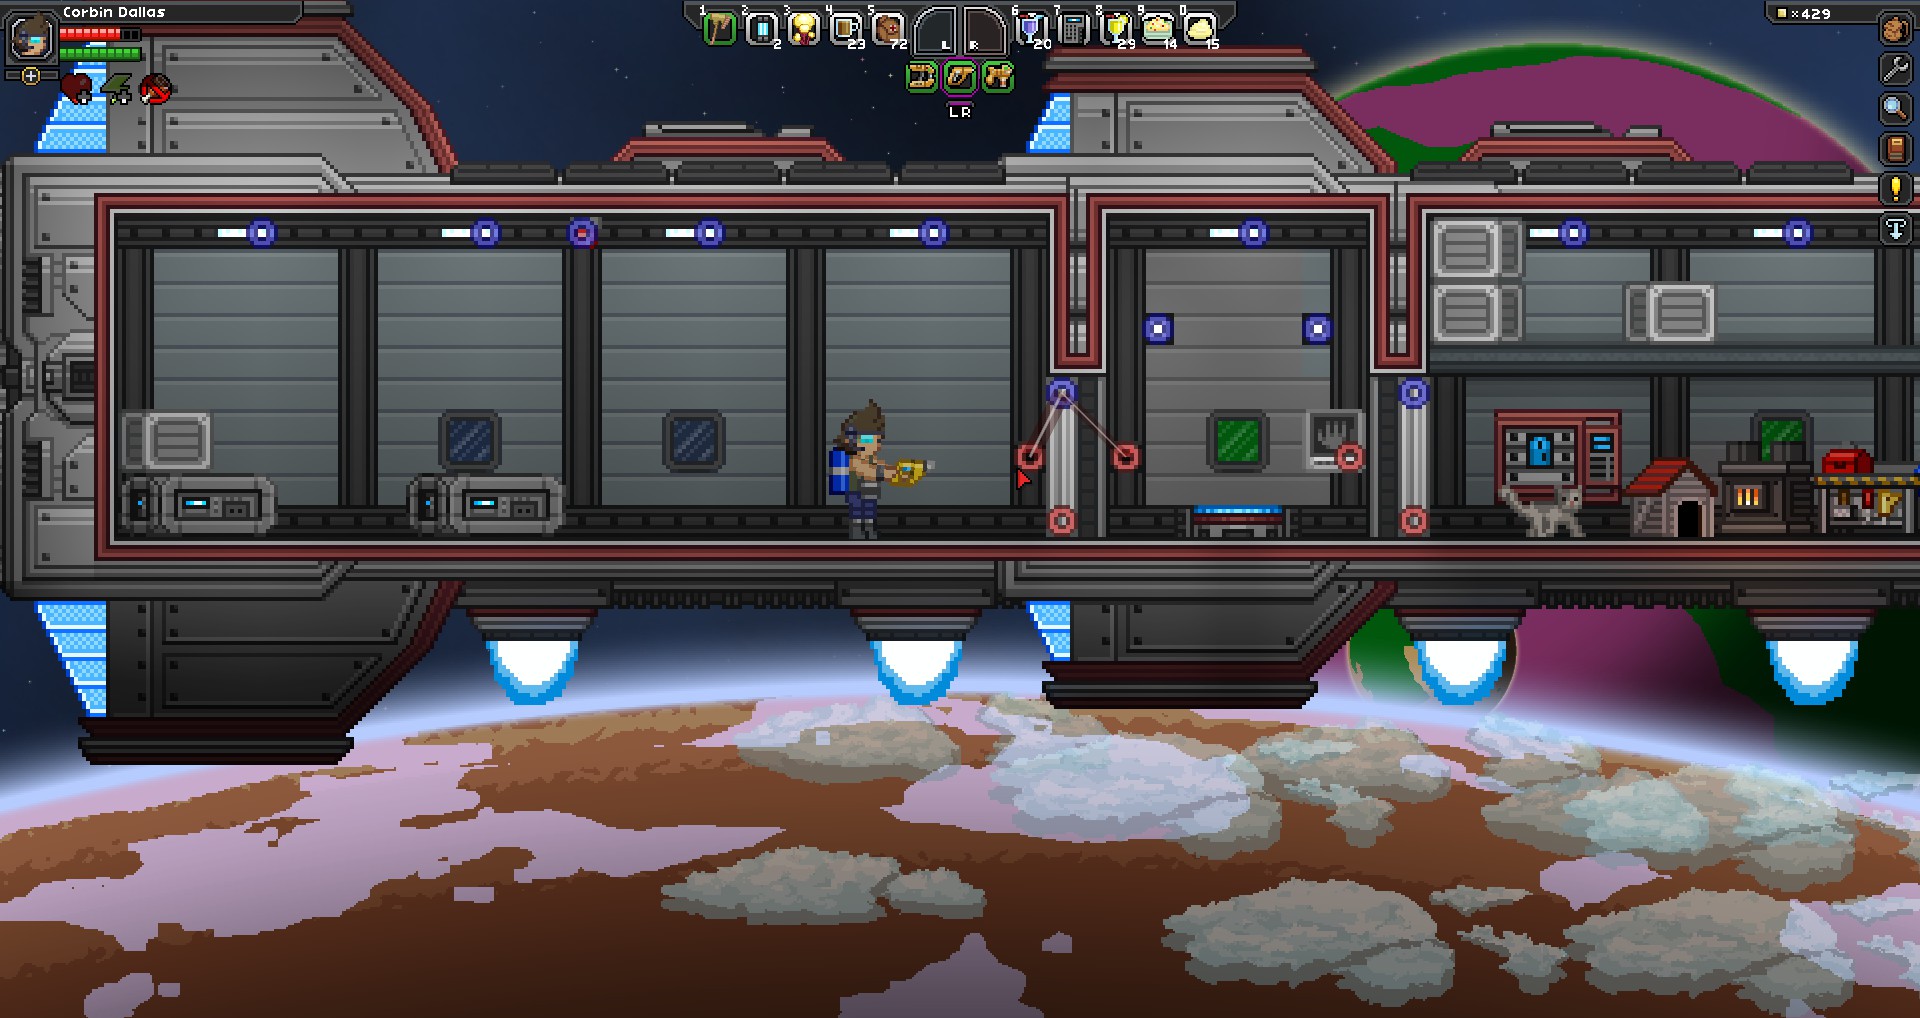
Now, you'll see how each of our proximity sensors has an output. Now, connect each one to the doors input (remember: red to blue).


Once your door is hooked up, it should shoot open from you moving near the sensor. When you move away from the sensor (or are unfortunate enough to still be standing in the doorway), the door will automatically close. If you are unfortunate enough to have gotten stuck in the door, use the wiring tool to remove the connections and manually open the door.

Why/how did that work?
A proximity sensor is in an Off state by default. When you, another player, or a monster alien approach the sensor, the sensor will activate and send an On signal to the door. When our door receives a single On signal, regardless of how many devices we have attached, that On signal is enough to trigger the door to open. We'll explore craftable switches in the following sections, as they can illustrate how we can use switches to simplify our work.

So there you have it, a door that will open and close on automatically. In the next section, we'll build upon our automatic door to make it a bit more interesting.
Adding Some Bells And Whistles
So now we have our spiffy automatic door, but let's add a bit more fun to it. Let's have it so an alarm will trigger when someone opens our door, just in case some monster or nosy neighbor invades our space.

What we'll need
  • An alarm
    • Created at Wiring Station
    • Requires 1 x Circuit Board, 1 x Laser Diode, 1 x Steel Bar
  • A door (again)
  • 2 x Proximity Sensors (again)


Our Instruction Set
When our door is open, we want an alarm to sound. Or in a more technical version, if sensor A or sensor B is on, open the door and turn on the alarm.

Placement
Just like before, place your proximity sensors on either side of the door. Now, place your alarm in any spot you'd like. Range does not matter (I think).


Wiring
Just like before, attach your sensor outputs to your door input (sensor red to door blue). Now, the fun thing with outputs and inputs is that you can attach them to multiple items. Let's add another wire from our sensors to the alarm. See below for the final look.


And there you have it, when your door is open, you'll have an alarm sound.

Now, let's perform this a different way.

In our current set up, we're having our sensors trigger two items: the door and the sensor, but what if we want to make our actions chain such that the sensors ONLY trigger the door, and the door triggers the alarm? Well, the good news is that our door also can send output! When a door is open, it's output (red) node sends a signal. You can use this to chain together events that depend upon each other.


And that's it for the basics. In the next chapters, we'll review the switches that the game offers. You can use switches to make more complex circuits.
The Switch Types: NOT
Role
The NOT switch is the simplest switch type. It only has 1 input node and 1 ouput node. It's job is to do the opposite of what the output is sending.

So if you're output connects to a NOT switch and the output is current in an OFF state, then the NOT switch will send an ON signal. Likewise, if your output sends an ON signal, your NOT switch will change the signal to an OFF.

Practical Use
A NOT switch is more or less useful in cases where you need to flip the signal for a device. By itself, it's not very useful, but in complex systems, its a valuable asset. This is useful in cases where you want the inverse to happen. For example, throwing a switch causes some other part of your circuit to turn off.
The Switch Types: OR
Overview
The OR switch is the easist type of switch to work with and is used in our initial work with creating our automatic door. When you craft and OR switch, it can allow you to easily link different circuits together to create a more compex connected systems.

Usage

In many cases, your simple circuit will not require constructing a Or switch. Remember our first door example? In this early case, we could have used an Or switch, but we didn't need to. Let's take our eariest example:


Here we see both of our sensors (our outputs) connected to our door input. When either sensor is on, our door opens. Now, let's construct this same door circuit using an Or switch.


With an Or switch, we can connect each of our sensor outputs to each input on the switch. We can then connect the Or switch's output to or doors input. This will result in the door functioning exactly like before. As I mentioned before, in our simple case, it makes more sense to save material and directly connect to the door, but as you start to add more features to your system, it may be necessary to use an OR switch to organize your wiring or if you want to add additional constraints to when your door operates.
The Switch Types: AND
Overview
The AND switch is one of the other switch types in the game. With an AND switch, the inputs the switch receives must both be ON for it to output an ON signal. In plain english, if Input A is ON and Input B is on, then output ON.

Usage
Continuing with our door system, let's make it so we can lock our house while we're at home (to prevent creatures from opening our door by getting near them).

Note: Make sure your don't get yourself locked out!

To begin, let's construct an AND switch from our bench. Now, you'll need to find an item in the game that has a persistent toggle action (ex. USCM Fingerprint Scanner). Basically, if you use it, it will stay on until you use it again to turn it off. Always raid your nearest Apexa Lab for materials and take everything that isn't bolted down!

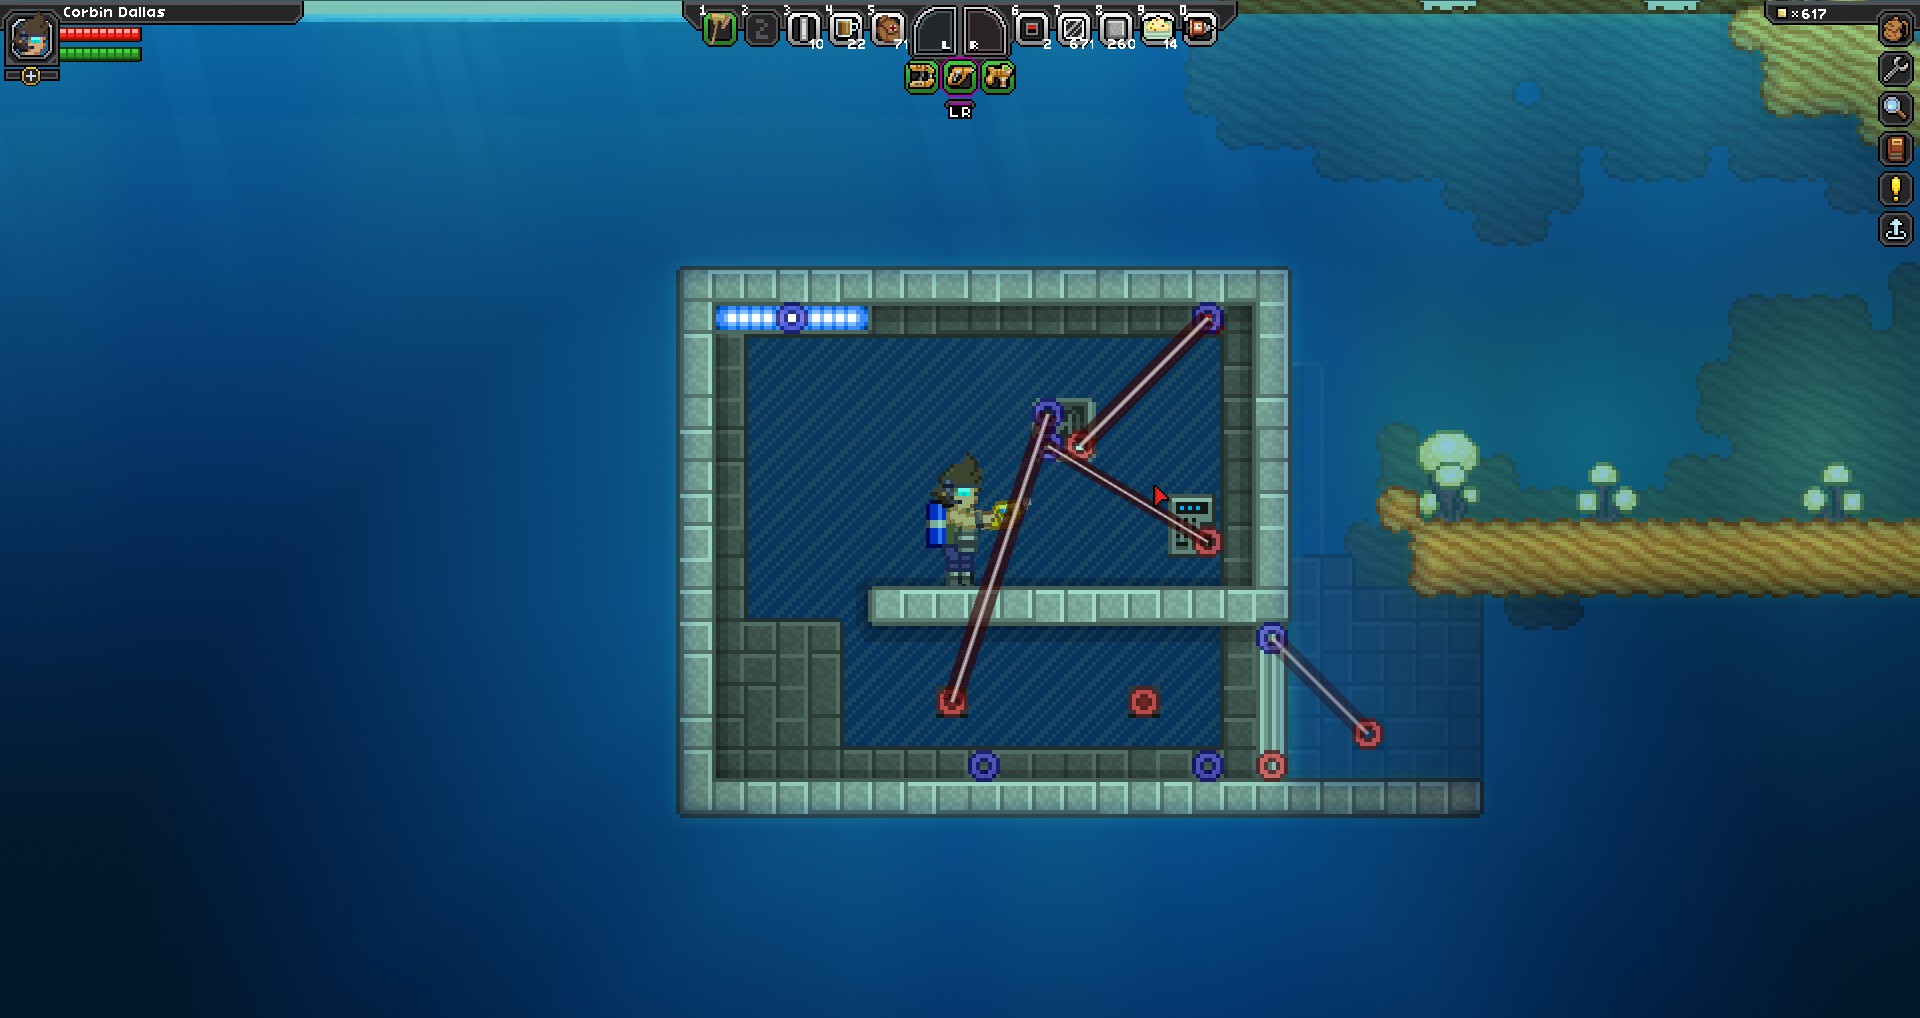
Now, let's place our items and hook up the devices. In my screenshot, I'm using an Outpost Keypad, which I connect to the bottom Input socket of the AND switch.

After that, we connect BOTH of our motion sensor outputs to the top of the AND switch Input port. This allows the switch to work with both sensors, so entering and exiting will make the switch work.

Finally, hook up the output of the AND switch to the door input. See below for my result.


Keep your wiring tool out so we can observe our AND switch in action. First, get near your motion sensors to show that they are sending to the AND switch. You'll notice that your door does not open.


Head over to your terminal/device and use it to turn it on and head back to the door.


Hooray! Our door opens! As mentioned at the start, with an AND switch, it will only output an ON signal if both Inputs attached to the AND switch receive an ON signal.

Other Applications
Now that you've seen the AND switch work, you can now make some rather fun things:

  • A maze where players must trigger all switches to proceed.
  • An air lock for a moon/asteroid base.
  • Security Checkpoints for a base.


The Switch Types: XOR
Overview
The XOR Switch (eXclusive OR => XOR) is third type of switch in the game. As you can see from the name, it's like an OR switch, but it has it's own special twist. With a XOR Switch, if A is ON OR B is ON BUT A AND B are both not ON, then send an ON signal.

Here's our good ol' our truth table to visualize this:

Input A
Input B
Result
On
On
Off
On
Off
On
Off
On
On
Off
Off
Off

Usage
What puts the X in exclusive means that the switch will only work when only one of it's inputs is On. As a result, this makes implementing a XOR switch rather tricky, as typically you want switches to work if either or both inputs are On.

As for implementing a XOR switch, a good use of one is in creating an air lock system. With air locks systems, you can have an internal door open only when the external door has closed (and vice versa).

As soon as I get my crew to help me build a working space station, I'll show you how to make one an air lock.
The Switch Types: Latch
Overview
The latch switch is a unique switch type that has a form of memory. Unlike the other switches, where it didn't matter which nodes you connected wires to, the Latch has very BLUE input specific nodes that do different functions. The Red node still will send output as usual.

The BOTTOM BLUE node represents the state to "receive" state. This "receiver" is important because it works with the BLUE TOP node which is used to "set" the latch state. Here's how it works in action:

1. By default, the latch is in an Off state. We have a persistent/toggle panel connected to the "receive" node in the Off setting. We're using a simple button in this case to do the "set" action. The latch switch is connected to a siren, which will turn on when the latch sends an On signal.


2. We turn the persistent/toggle panel on. This sends an On signal to the latch switch, however the latch switch does nothing. This is because the latch switch is currently set to an Off state.


3. Now the magic happens. If we hit the button, we basically tell the Latch switch to "set" its state to whatever it's receiving on the BOTTOM BLUE node. In this case, that node is receiving an On signal. So our latch switch now turns on.


4. Now for even more magic. If you go back to your persistent/toggle button, and turn it off, the latch switch is still in the On state! This is the magic of the latch switch: it will maintain it's state of whatever you tell it to be. This will allow you to have a simple "memory" where the latch will save whatever you tell it to save (either On or Off) and keep it until you tell it otherwise.


5. Now, if you want to change the latch switch to Off again. Just hit the "set" button. This will have the latch switch take a look at it's "receive" node, which in our case is Off, and set itself accordingly.


Tips and Tricks
One neat trick you can do with a latch switch is to connect an item, such as a door's RED OUTPUT node to both the top and bottom BLUE INPUT nodes on a latch switch. What this does is when the door opens, it will send an On signal to both the "receive" and "set" nodes, telling the node to immediately set it's state to On, without any intervention on your part. You can then set up a separate button which can then be used to "reset" the latch which is also connected to the "set" node.

I normally don't use Latch switches as I don't have any pratical uses for them in single player games so far. They would be great for applications where you need something remembered. In fact, by using the different sensors, such as light and liquid, you could implement a latch switch that will set it's state based upon light levels or water levels.


Crafting Notables
Overview
This section will deal mostly with certain individual items that can be crafted at the wiring table. Although some items are pretty straight-forward (e..g, the Not switch), others are a bit more pecuiliar (e.g., the timer).

The Light Sensor
The light sensor itself is unique in the fact that it has two outputs: the top output will trigger when it detects bright lights, and the bottom output will trigger when it dim lights. A dim light would include the Lantern on a Stick item or a distant flashlight, and a bright light would include your regular close-range flashlight. It will also react to the time of day (assuming it has access to sunlight), so you could activate items depending on if it's day or night (or use a Not switch to make it do the opposite).

The Liquid Sensor
The Liquid sensor is like the light sensor in that it will activate in the presence of liquid. This makes it ideal for areas where water accumulation would occur. This would be useful in maintaining water levels on water planets or maintaining rain accumulation (sensor height indicates how deep water should get).

The Drain
The drain is a craftable item which will remove all liquids in the area that flow onto its tile. As of Spirited Giraffe, this means removing it permanently. In ocean environments where the water tiles are considered infinite, it will never be able to remove the water. You'll need to replace the water tiles with other materials to permanently remove the infinite water.

In it's default state, a drain is always On and will drain water. When it's input node is connected to another object, then it will act accordingly, similar to a door. This makes it useful for having it operate in a ocean airlock where the opening of the external door causes the drains to start draining liquid.
Other Resources
This guide should give you a basic primer to understanding how circuits work in game and how to build simple setups which you can reduce, revise, and improve upon. In the meanwhile, here are a few links to help you with the more complex stuff.

If you have any comments, questions, or suggestions regarding this guide creating your own circuits, please leave a comment below and I will address it in updates to this guide. I should note that some of the videos were from the Early Access stage and may not be applicable, but the general principles should work the same.


SeaJay's Post on Using Latch Switches[community.playstarbound.com]

Cox&Nut's Channel

Starbrethren's Channel

If there's more interest, I'll add sections on using more of switches in the game as well as building upon our automatic door example to make it more robust and fun.
Revision History
v1.0
Fixed Materials Needed section.

v Annoyed Koala
Inital write up.

v Spirited Giraffe
Updated content
41 Comments
Omnisloth  [author] 10 May, 2018 @ 5:05pm 
Thanks. Range was one of those things I didn't really test as I couldn't think of a case where I need something to occur halfway around the planet.
InsanityWaffles 10 May, 2018 @ 4:59pm 
Range DOES matter, but only if you go really really far. I love the guide!
Omnisloth  [author] 7 Sep, 2016 @ 3:16pm 
Thanks. I'm going to revise my guide now that I'm getting back into Starbound again. Hopefully this will also include me fixing up grammar and other poor attempts at writing.:cfacepalm:
mxdanger 6 Sep, 2016 @ 9:36pm 
More to come and other resources

the drain it has the tags next to it
Omnisloth  [author] 6 Sep, 2016 @ 5:25pm 
Ah, that's what I get for not proof-reading. Thanks for the heads-up.
mxdanger 6 Sep, 2016 @ 5:21pm 
Swich Type NOT:
A NOT switch is more "ore" less useful in cases...
Im guessing thats a typo
TheGaySecretary 19 Aug, 2016 @ 7:10pm 
This guide really helped me understand the Wiring system! Now I just need to find one for rail systems.
I recommended this guide to a few friends, it is very good.
Omnisloth  [author] 30 Apr, 2016 @ 5:14am 
They may have changed up the content again in the patch. I'll have to re-check the materials now.
Utsuho Reiuji 29 Apr, 2016 @ 5:12pm 
hello?
Utsuho Reiuji 1 Apr, 2016 @ 1:45am 
i want to spawn items that i need its Titanium Bars and Uranium Rods and it just gives me perfectly generic Items